Removing the gas tanks from Tony's boat or any boat is a tough job.
They are locked in by foam and there is only about one inch of working space between the tank and the coffin.
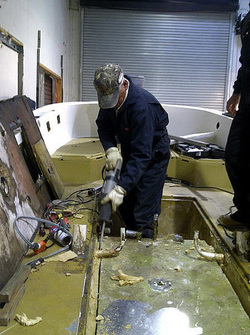
The best tool is a sawzall. We had two 12 inch blades tack welded together to make a blade 16 inches long. This made the separation along the walls.

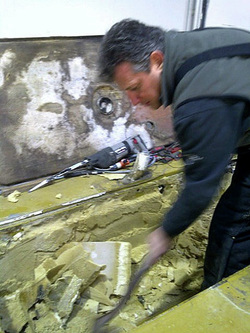
We then needed to pry the tank loose from the foam on the bottom.
This is the big tank and it was easier than the small tank. For the small tank we could only work from the top. Once it was removed then we had access to the bottom edge of the larger tank so prying it loose was not as tough.
This is the big tank and it was easier than the small tank. For the small tank we could only work from the top. Once it was removed then we had access to the bottom edge of the larger tank so prying it loose was not as tough.
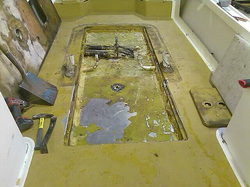
George removing all old wet foam from the coffin to clean it up.
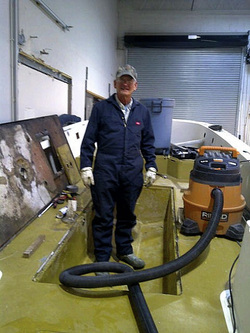
Job all done, tanks out and ready for a new single 120 gallon tank.
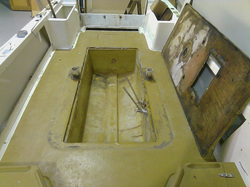
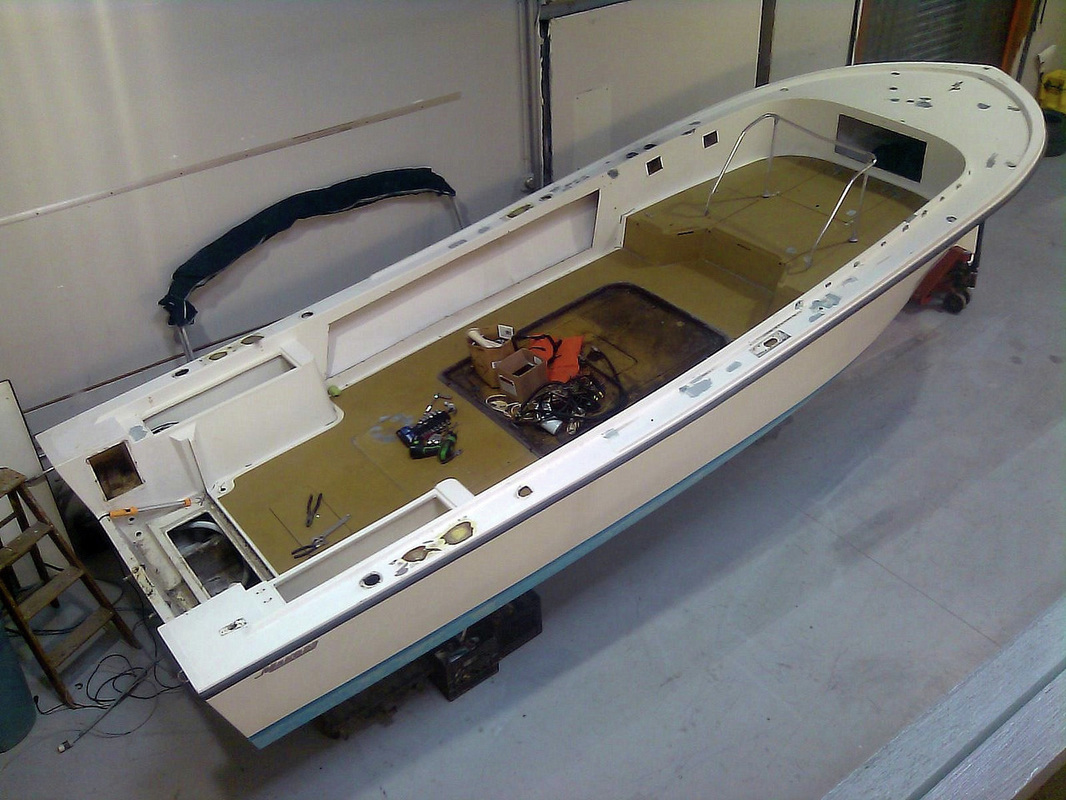
I continue to work on Tony's Mako. Today we accomplished a major feat. We removed the main tank and finished the boat deconstruction. You can see that the tank coffin is in great shape and ready to receive the new tank from Alloy Welding.
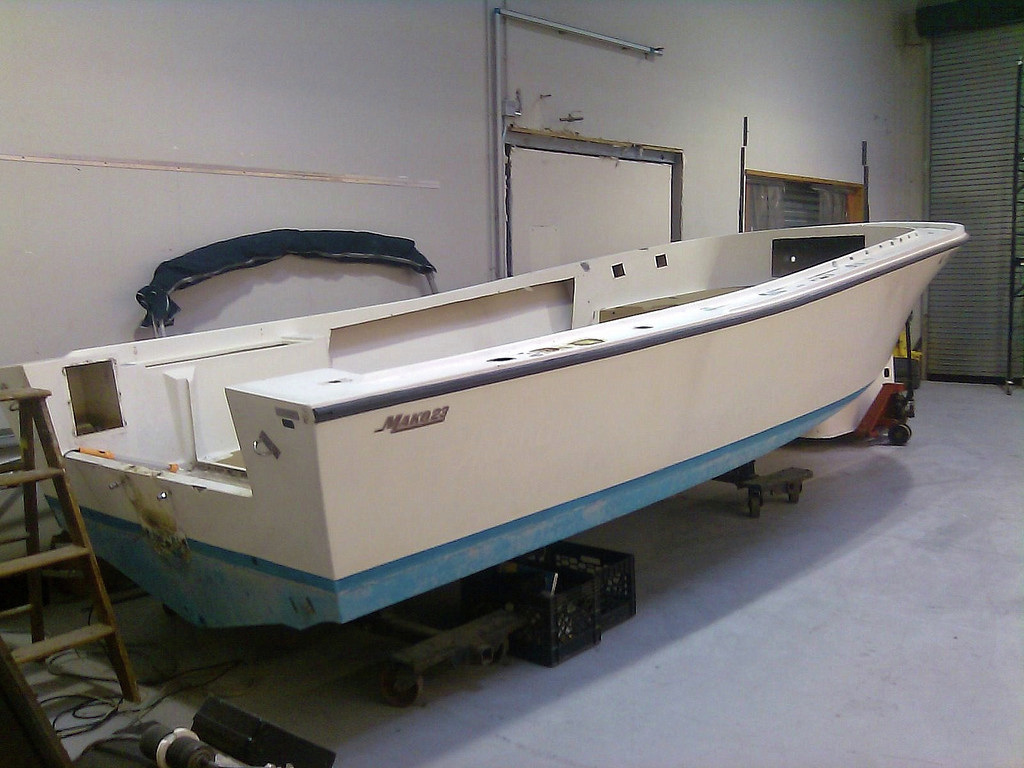
There is a lot less to do on this job as compared to my boat last year. Tony's boat had solid floors, transom and bow casting platform. Now what remains is for Pete Johnston to do all the fiberglass patch work which is pretty extensive and then sand everything to make it ready for Awl Grip paint.
When it comes back from paint at Perfect 10 paint shop we will put her back together.
It is a tough job to remove the tanks but we came up with a new innovative tool. We spot welded two 12 inch sawzall blades together to make a total of 16 inches. This blade was able to cut all the way to the bottom of the tank coffin and free the tank. We just had to pry bar it to break it free from the underlying foam.
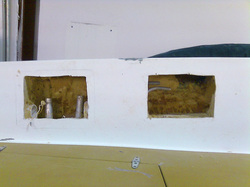
I then cut two access hatch ways in order to get at the fill lines and vent lines. It was a tough job but worked out using a saber saw and the never outdone sawzall. When I chipped away the foam it revealed badly corroded and brittle hoses. I removed the hoses and fills and vents. Cleaned up all the area so that we are now ready to install the new fill cap and vent. We will only use one of the two sets of fill pipes and vents. We will replace the 80 and 40 gallon tanks with one 120 gallon tank, one fill and one vent. We will leave the other set intact in case the connected ones ever fail. We can always switch to the other leads. These openings will be covered with deck hatches and they can also serve for storage of small items.
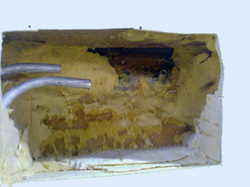
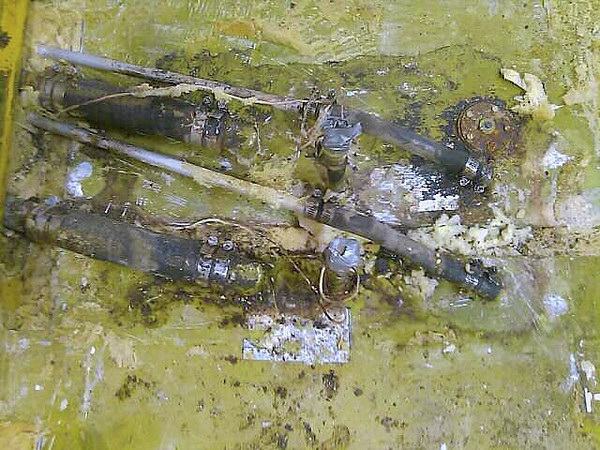
Vent tubes and vents to outside of hull.

fill pipes with grounding wires. We will use the aft pipe or the one on the left. I had to cut the long rod storage tube for access but will patch it back together. We will pressure check the fill pipe and hook it all up.
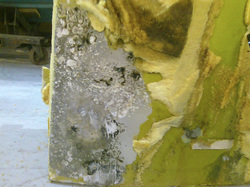
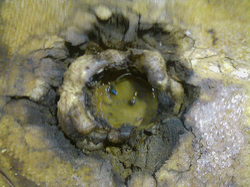
This is a shot of the main tank. I had signs of extensive pitting and we were able to smell gas odor. I believe there was a pin hole somewhere that was just seeping a little gas but the foam was keeping it to a minimum.
We are having Phil from Alloy Welding in Farmingdale making the new tank along with the new bow rail and console handrail.
Another great day at the shop.
We are having Phil from Alloy Welding in Farmingdale making the new tank along with the new bow rail and console handrail.
Another great day at the shop.


 RSS Feed