Babylon Boat Works
  • Home New
    • Home Old
  • Current Projects
    • 1978 Secraft Center Console
    • 1978 23 Mako
    • 1987 Cape Dory 28
    • 1981 15' Answer
  • Completed Projects
    • 1988 20' Boston Whaler Outrage
    • 1988 Boston Whaler Outrage
    • 1984 22' Boston Whaler Outrage
    • 1988 Boston Whaler 22 Outrage
    • 1969 Pacemaker Alglass Wahoo
    • 1972 22 Mako Restoration
    • 1979 23 Mako "Special K's"
    • 1979 23' Mako Restoration
    • 23 Mako Dec 2010
    • Skimmer Dec 2009
  • Marine Fabrication
    • Starboard
    • Aluminum & Stainless Steel
    • Fiberglass
  • BBW TV
  • About Us
  • The Cast
  • Contact Us
    • Ask Us

23 Mako restoration completed

3/29/2011

10 Comments

 
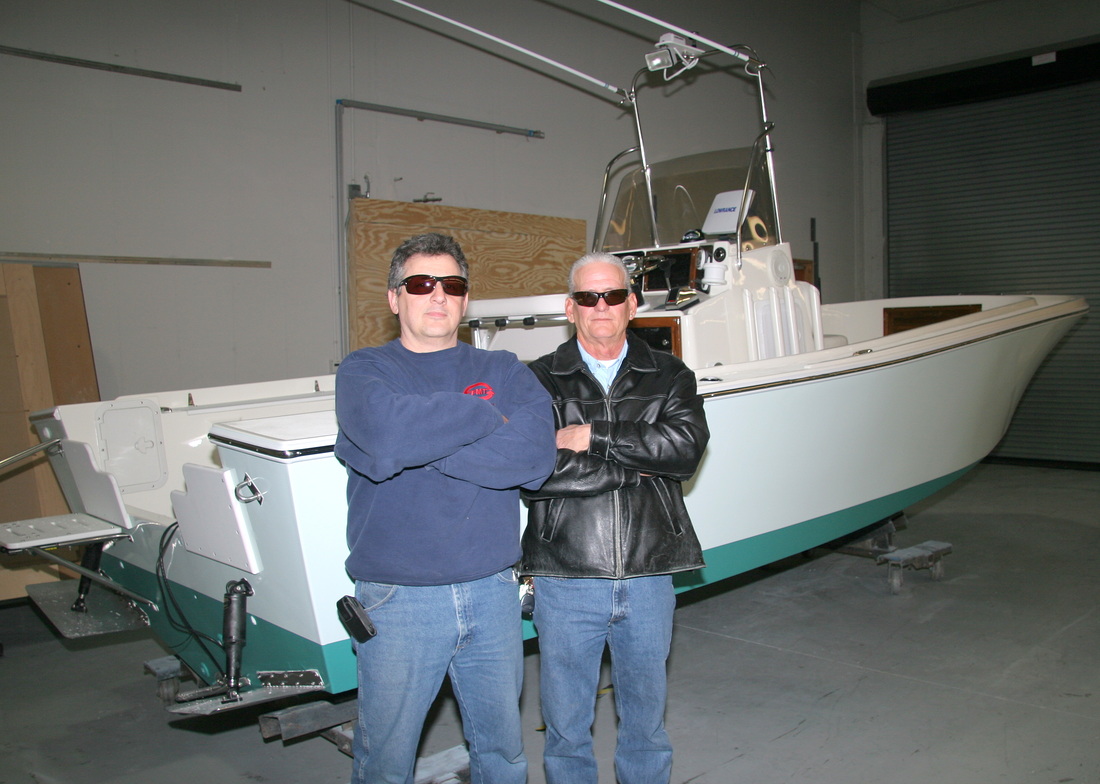
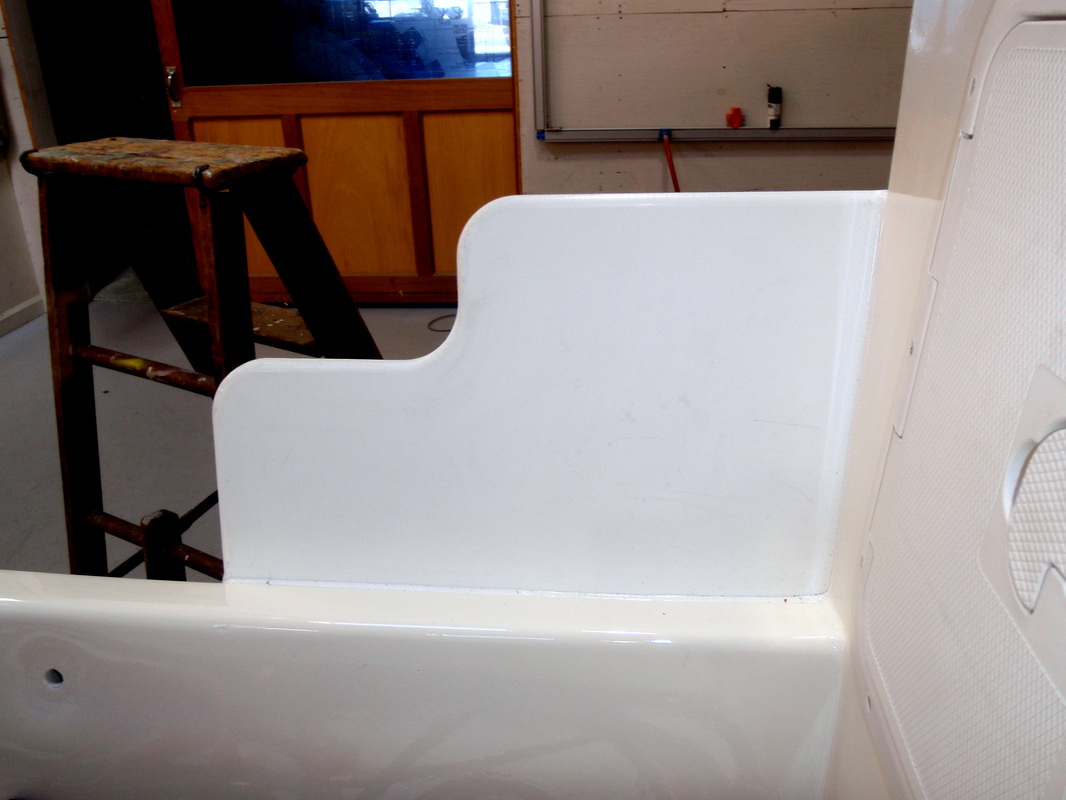
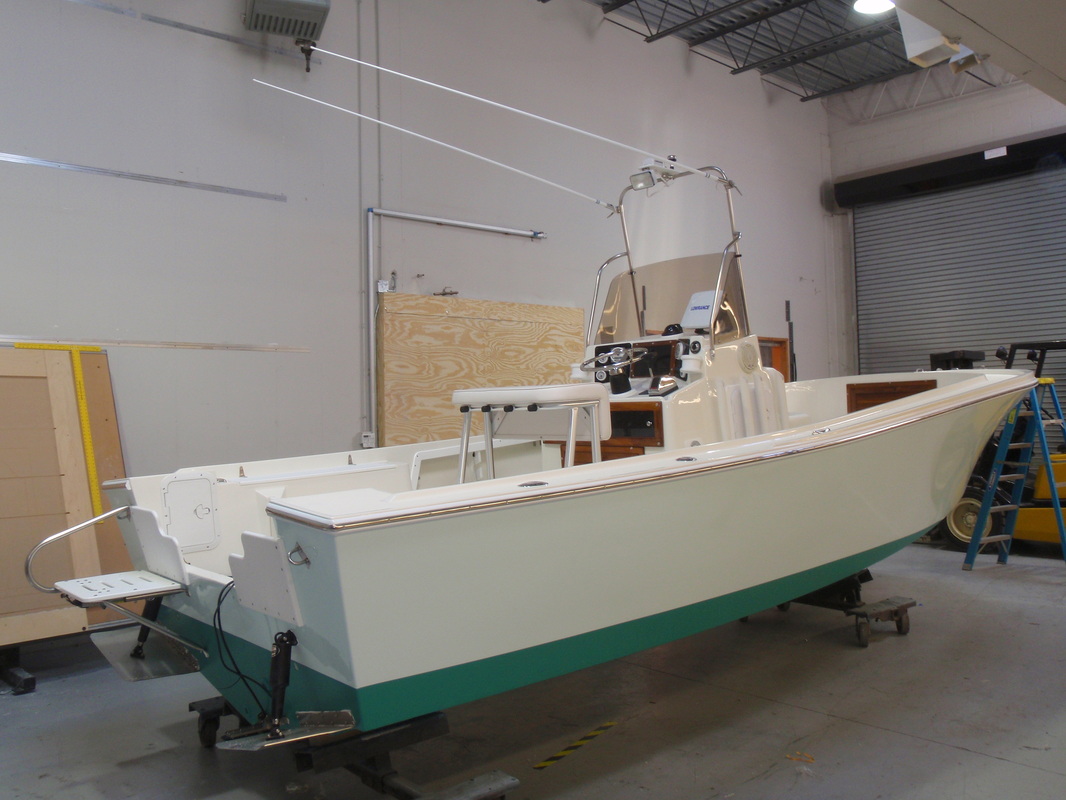
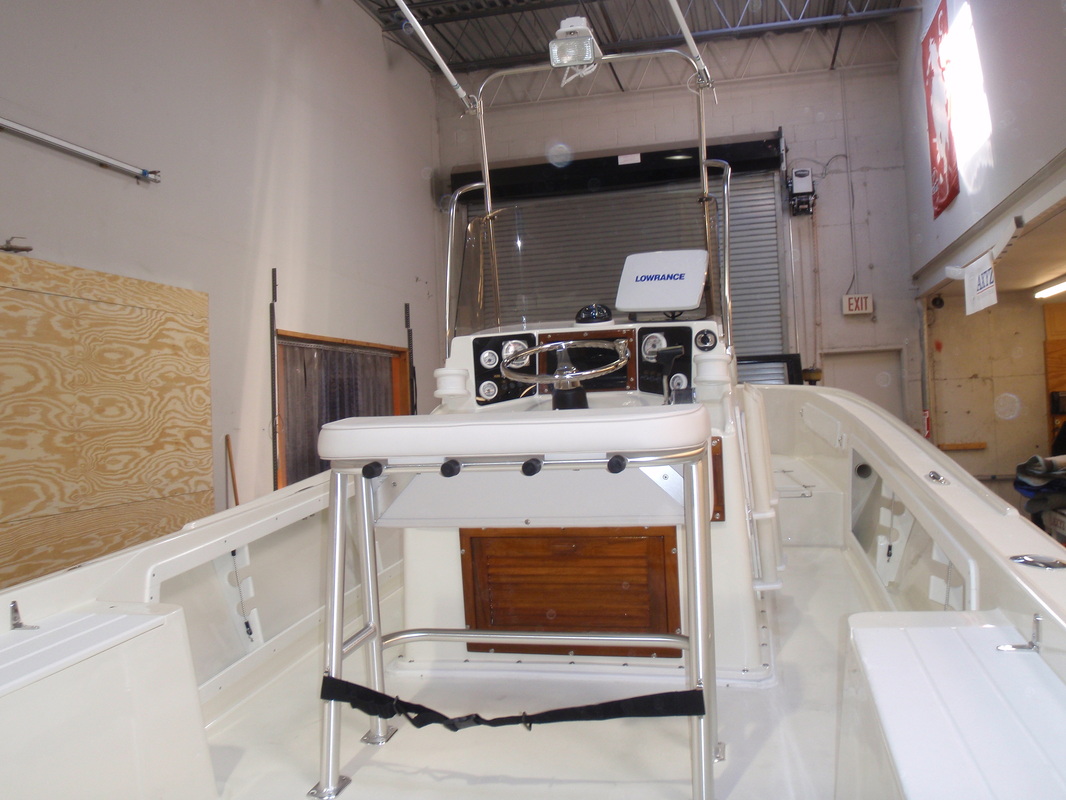
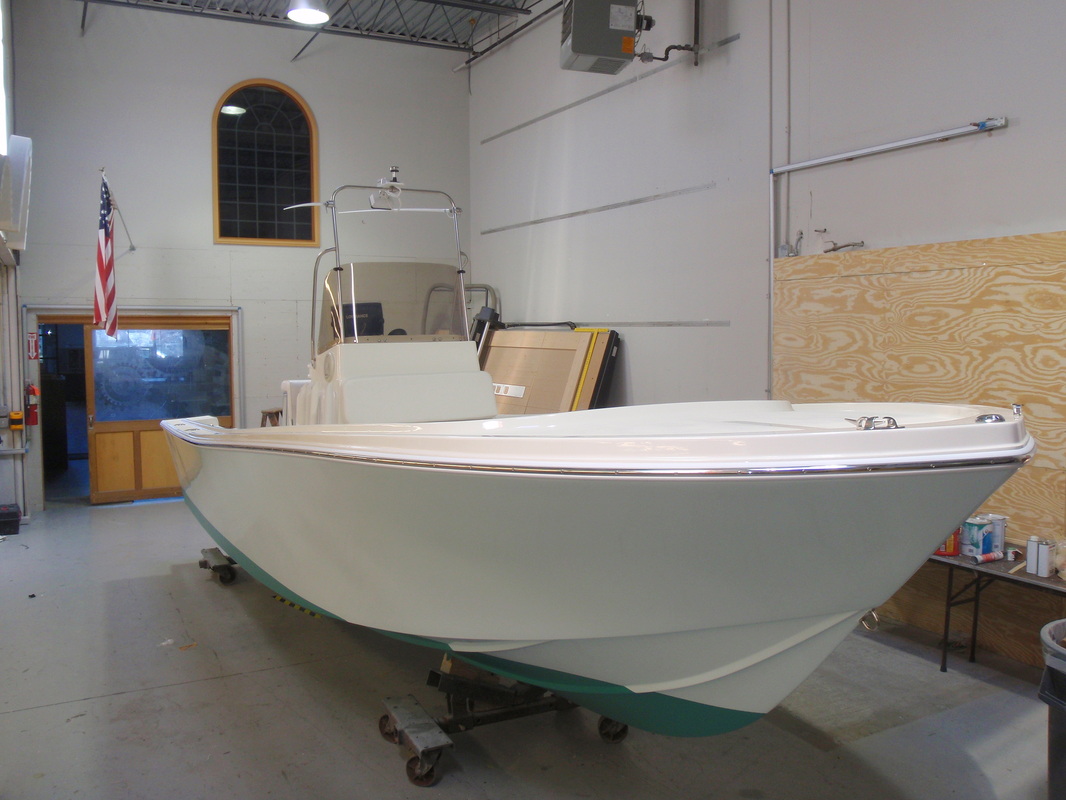
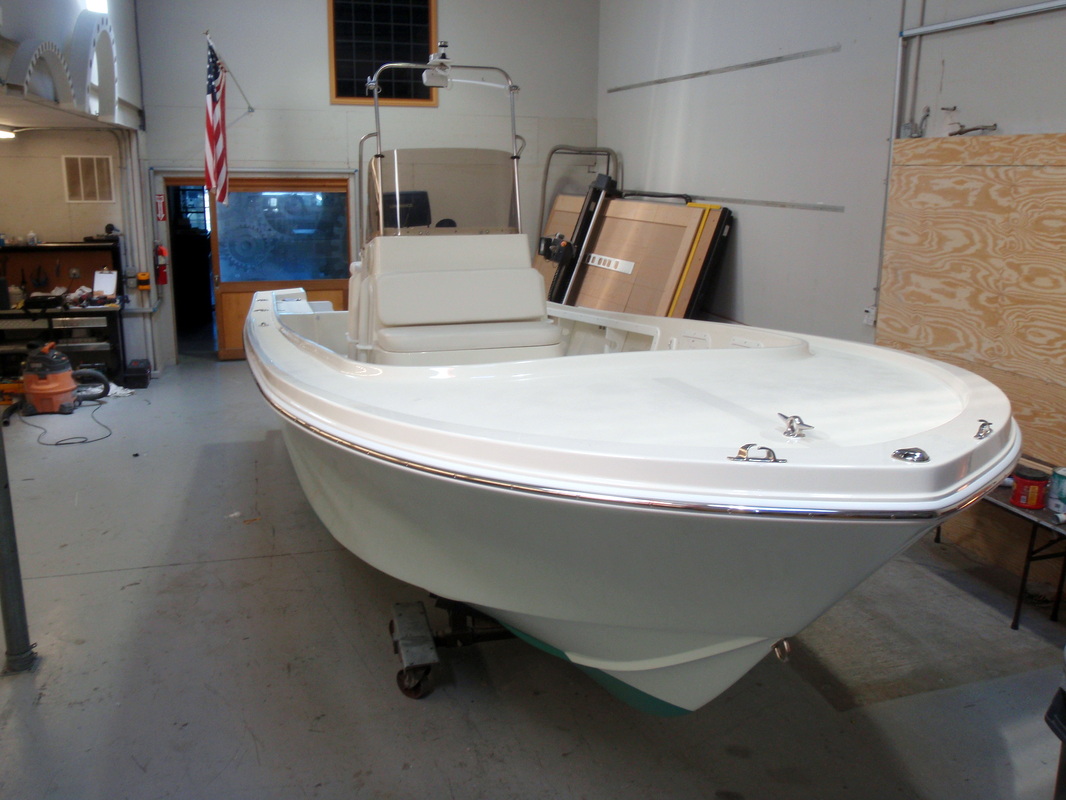
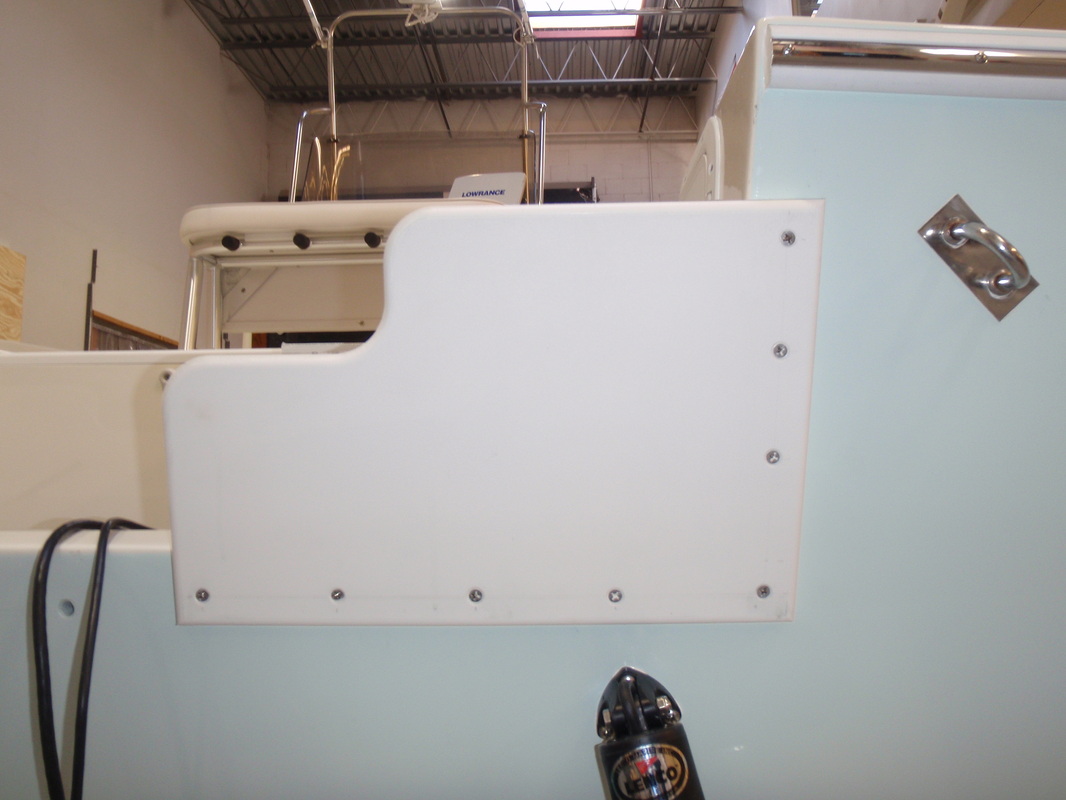
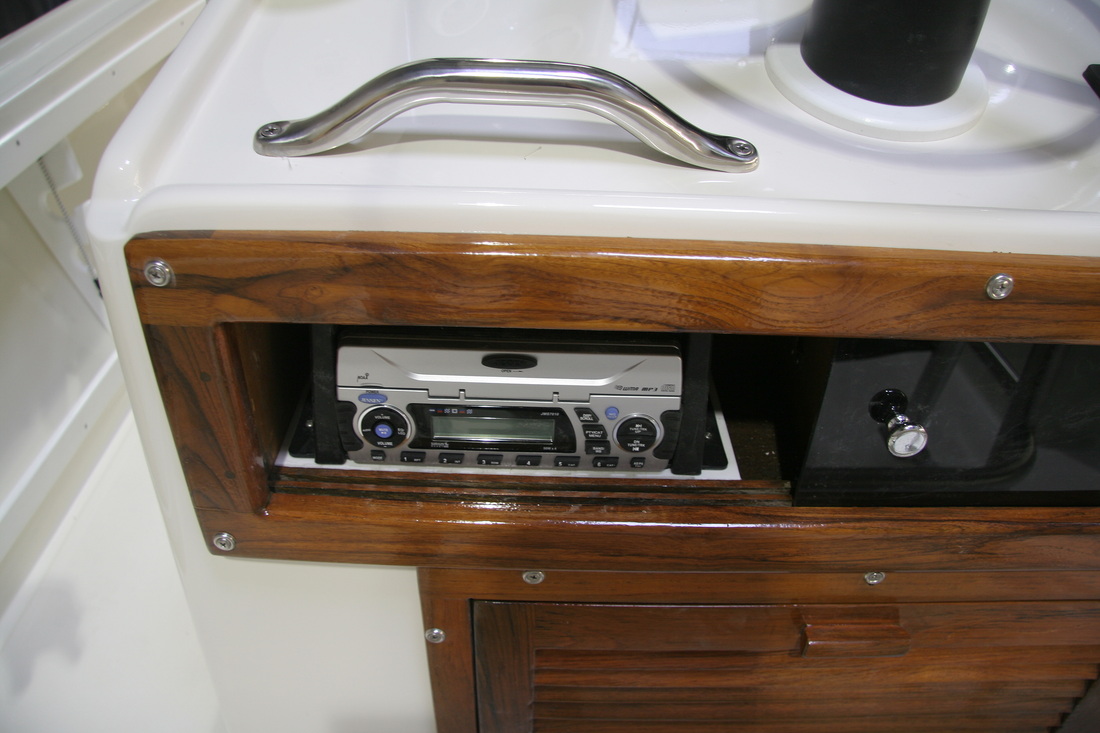
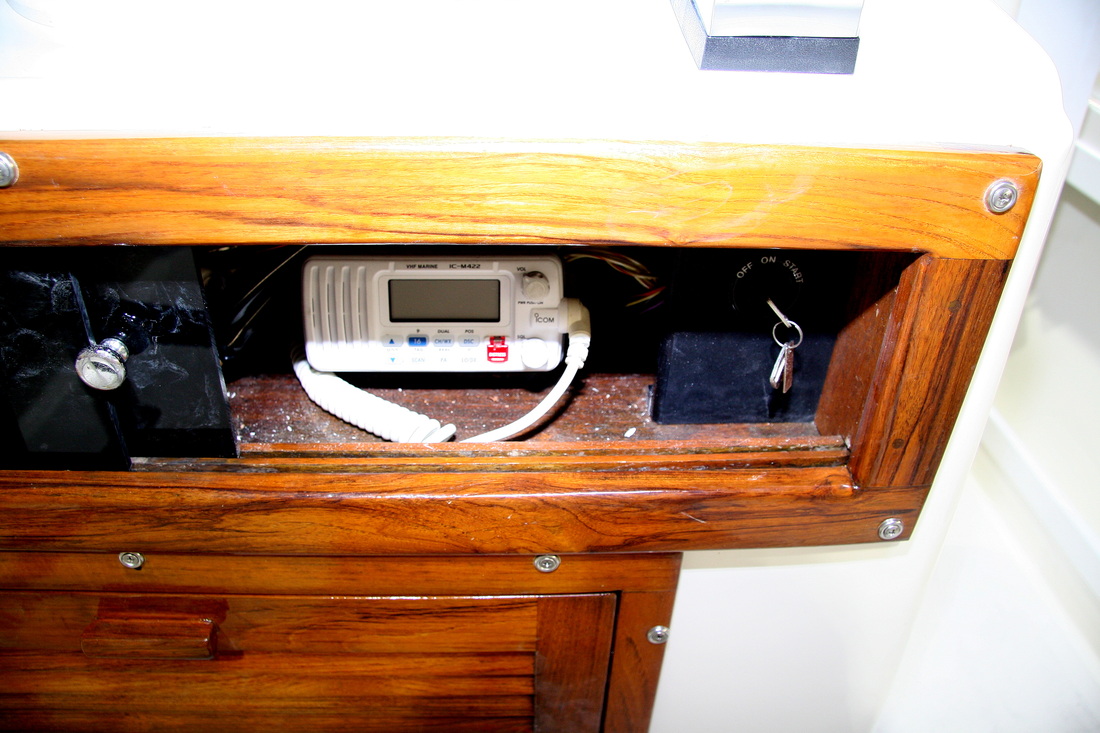
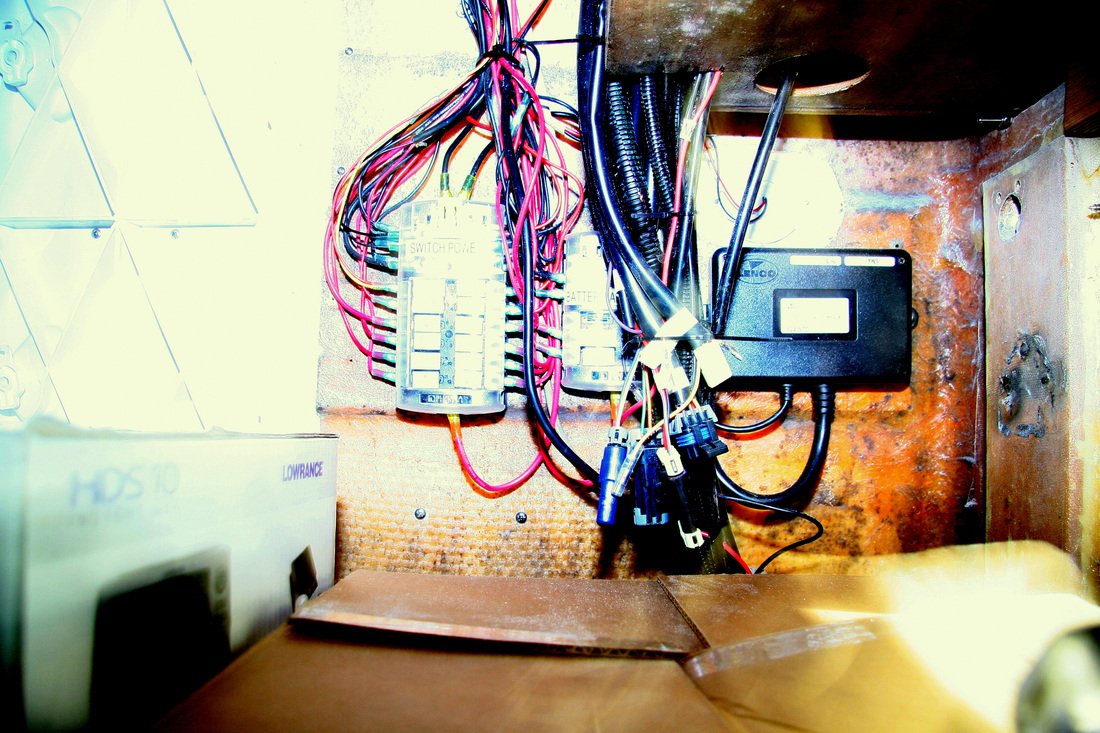
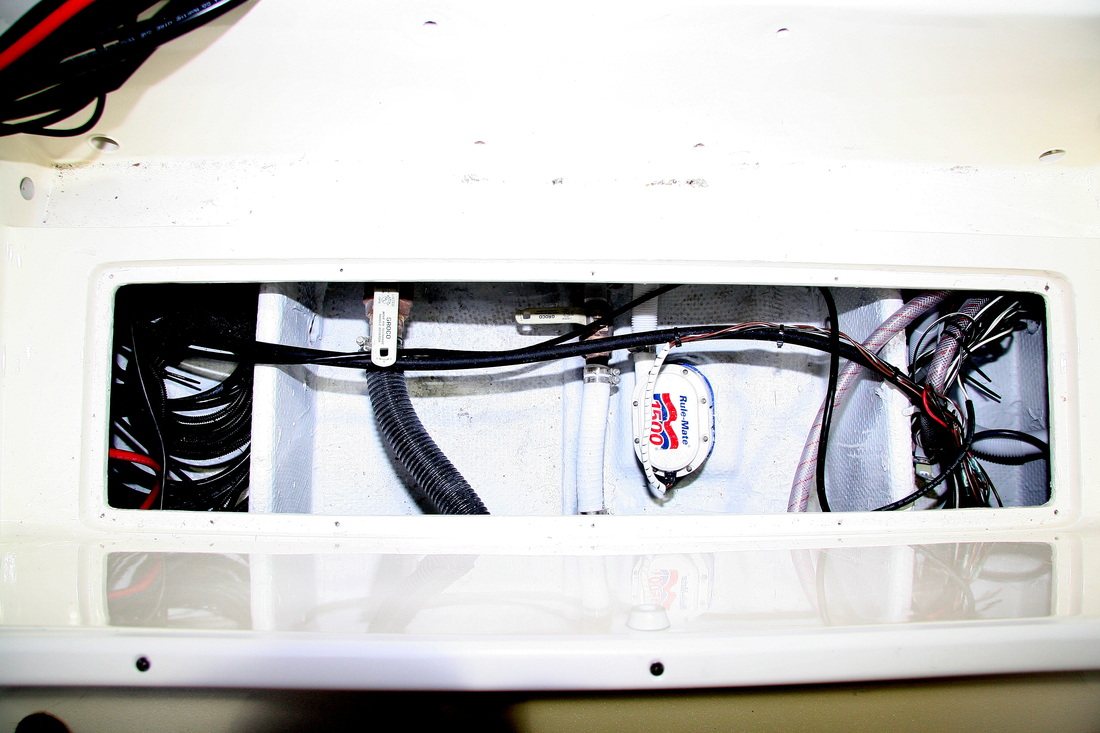
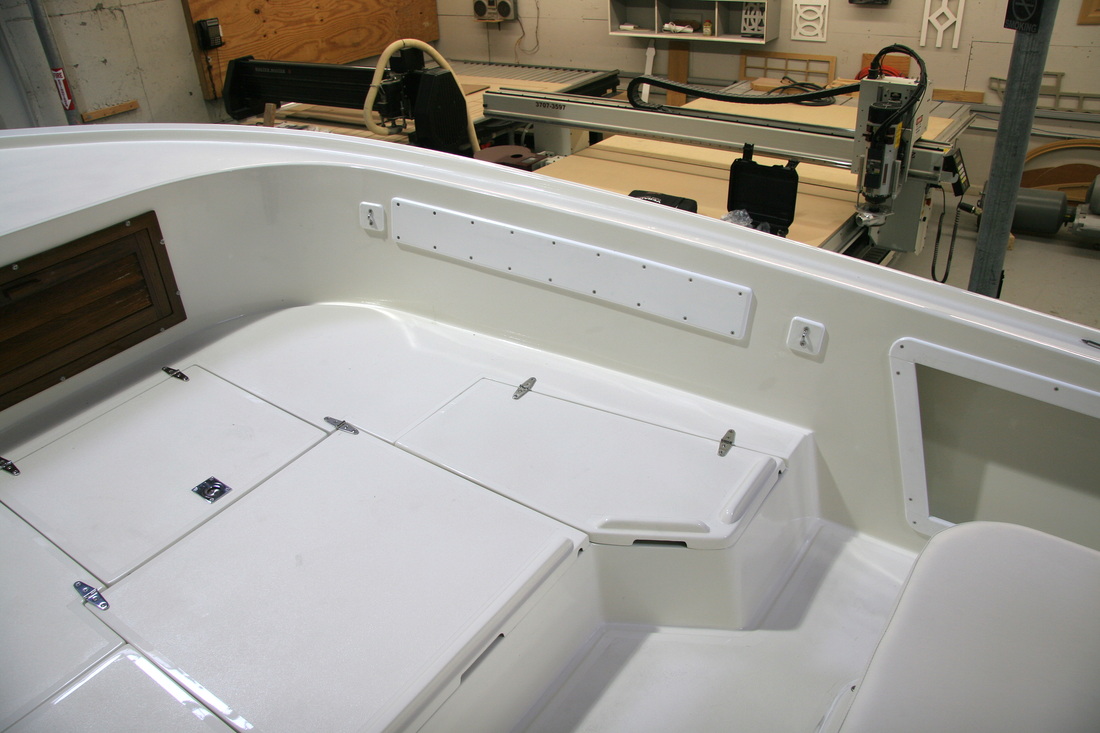
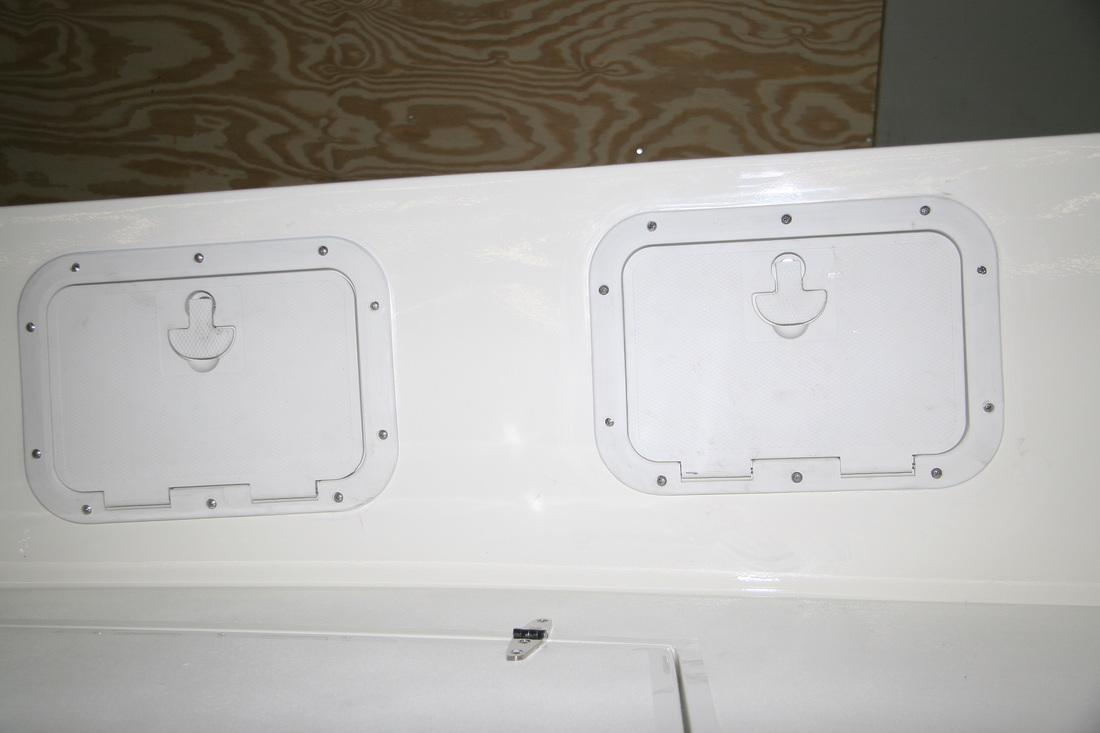
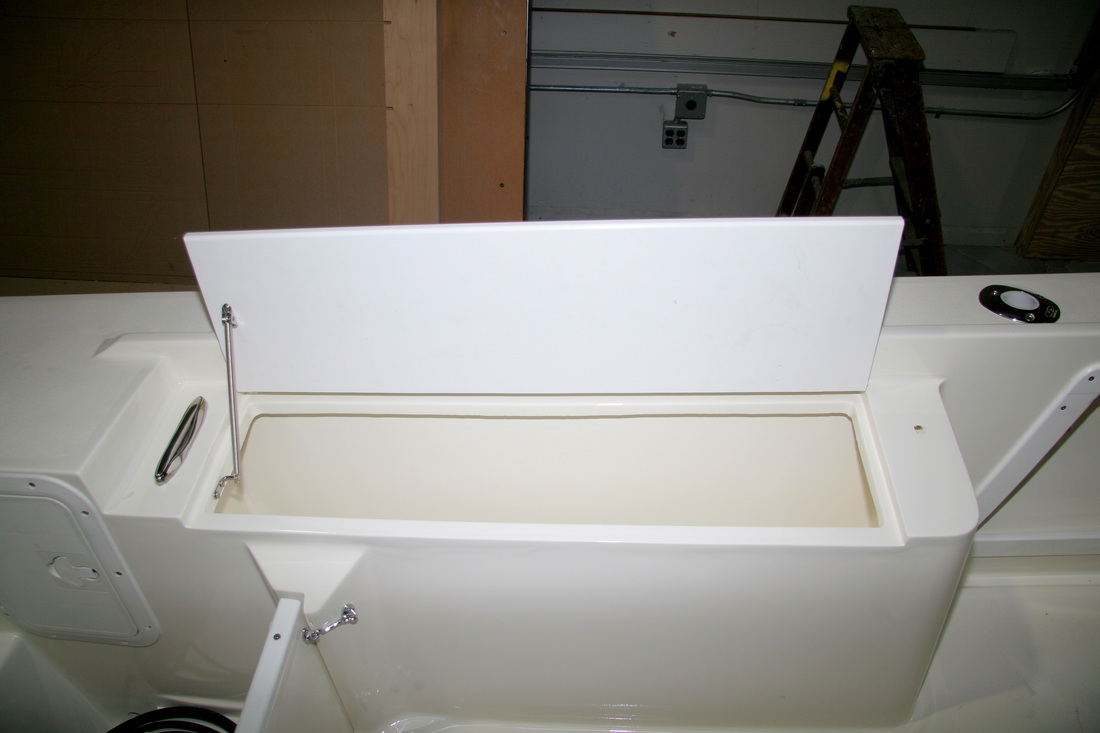
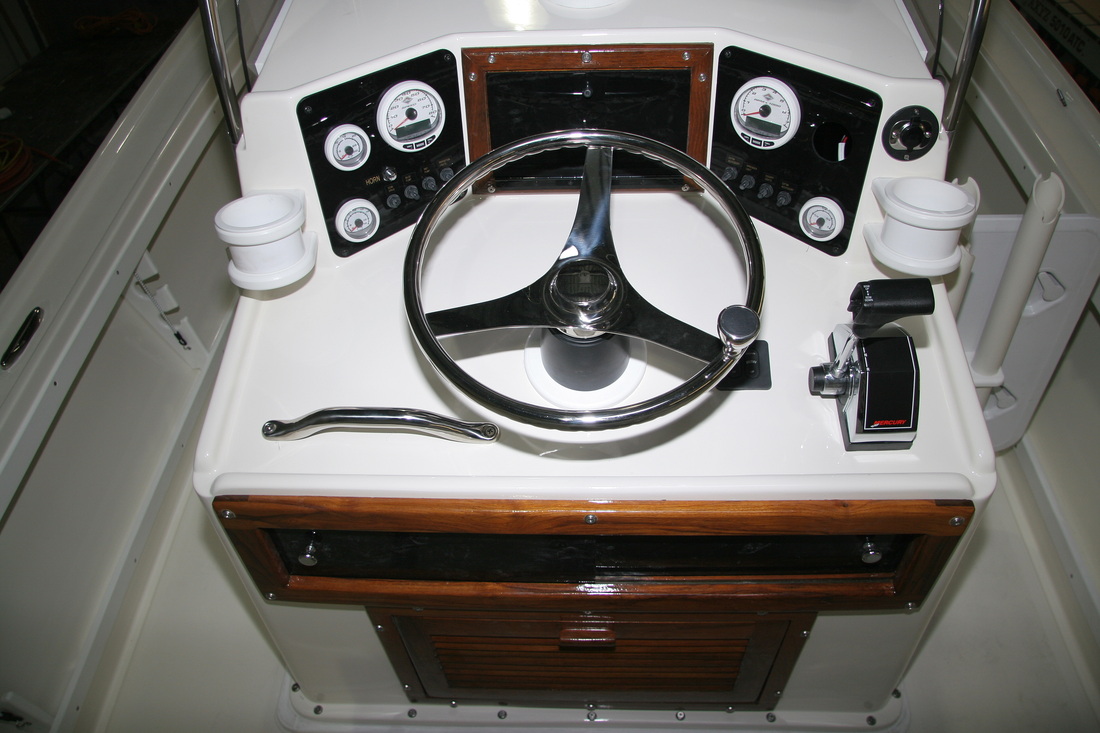
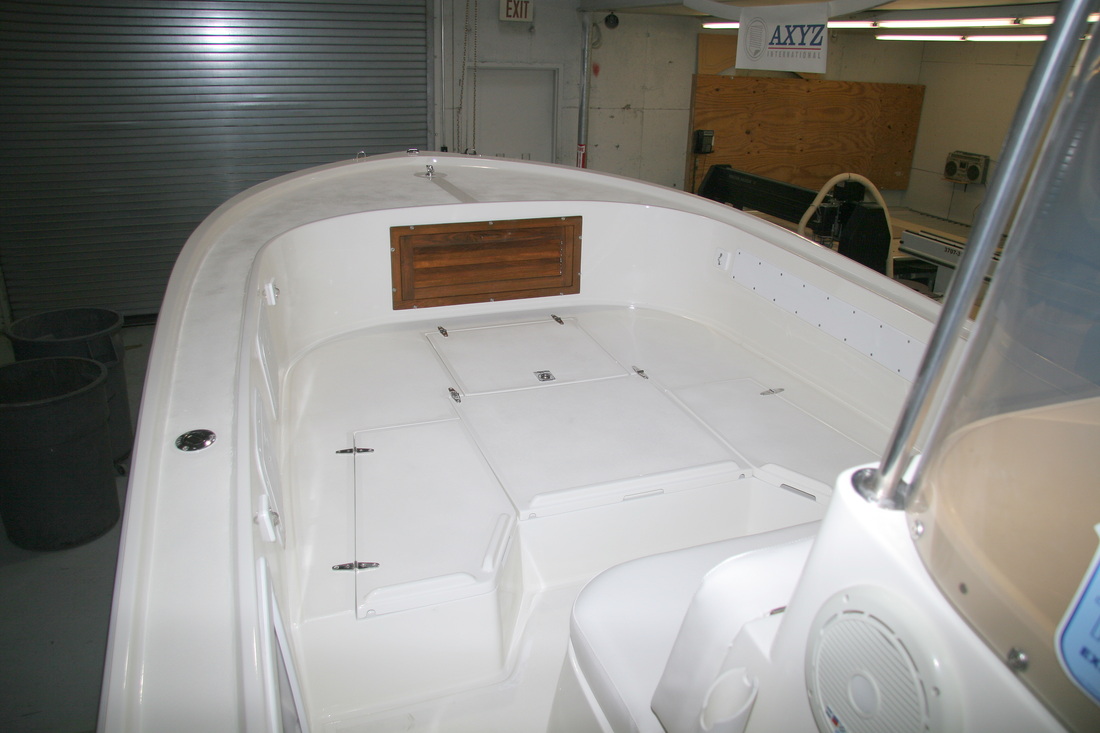
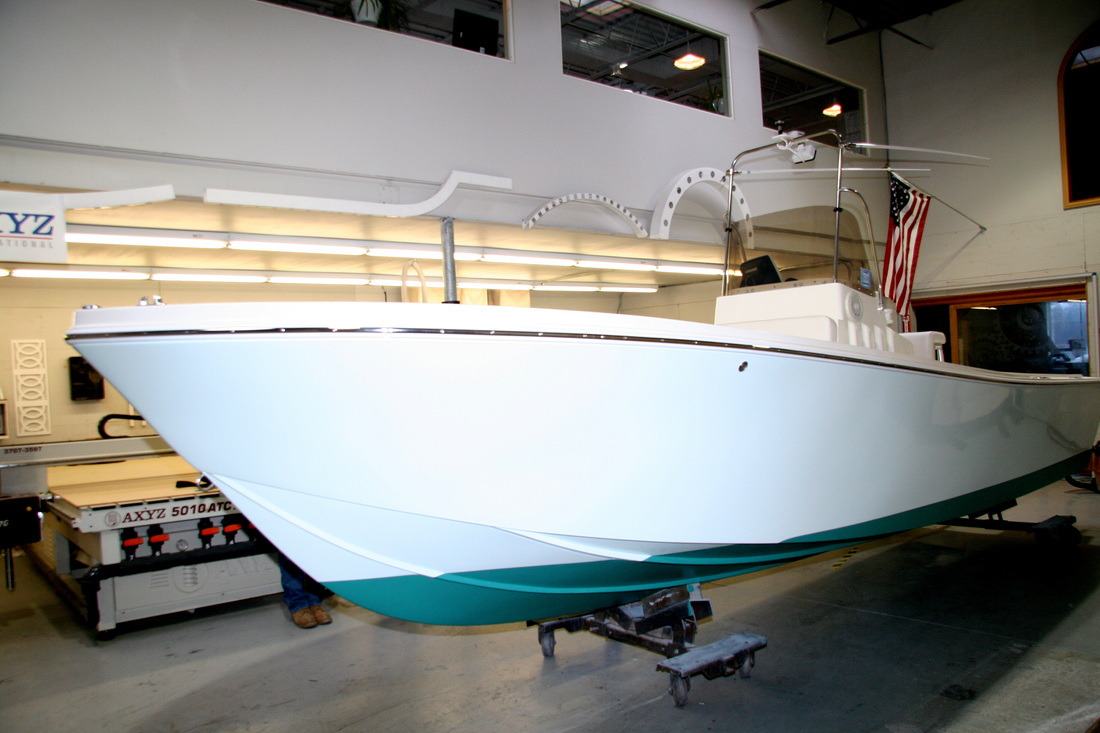
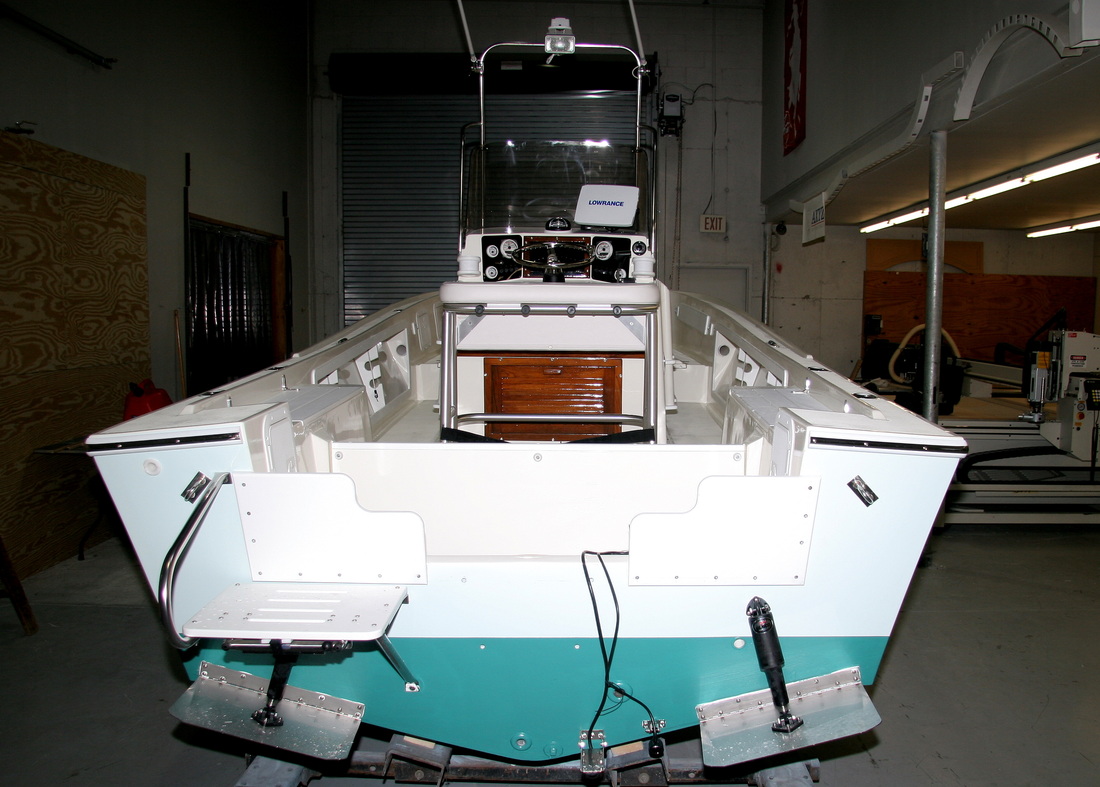
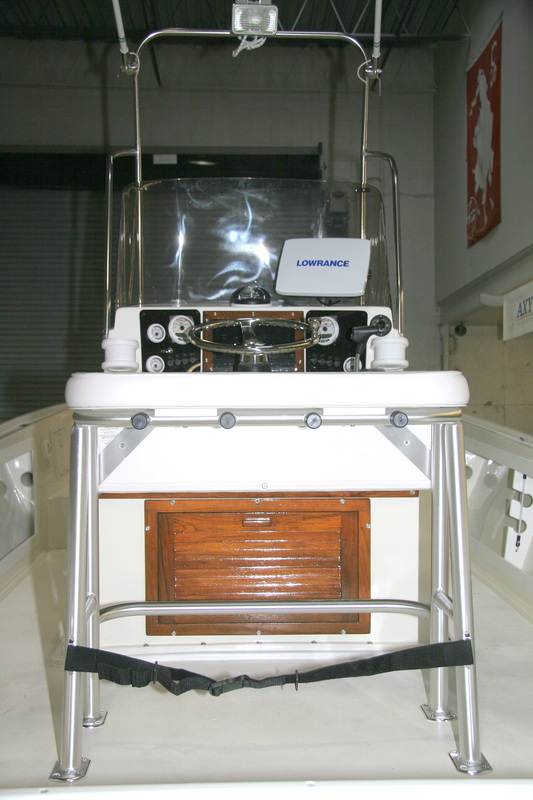
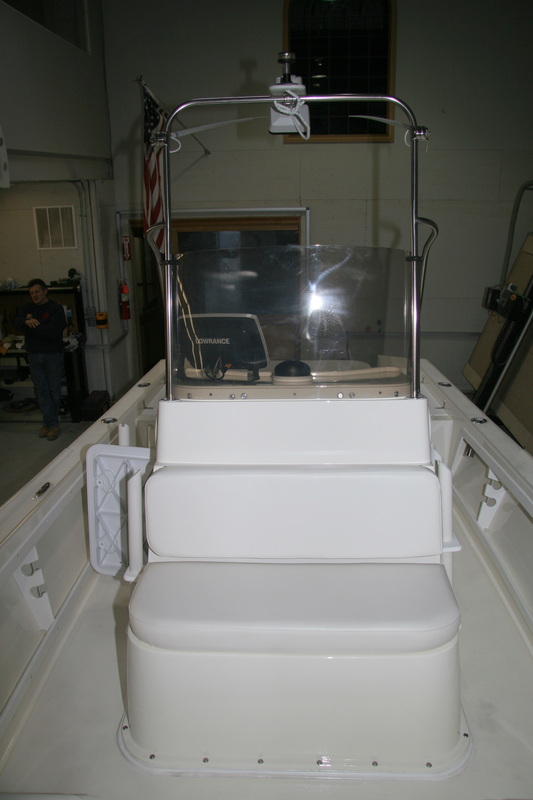
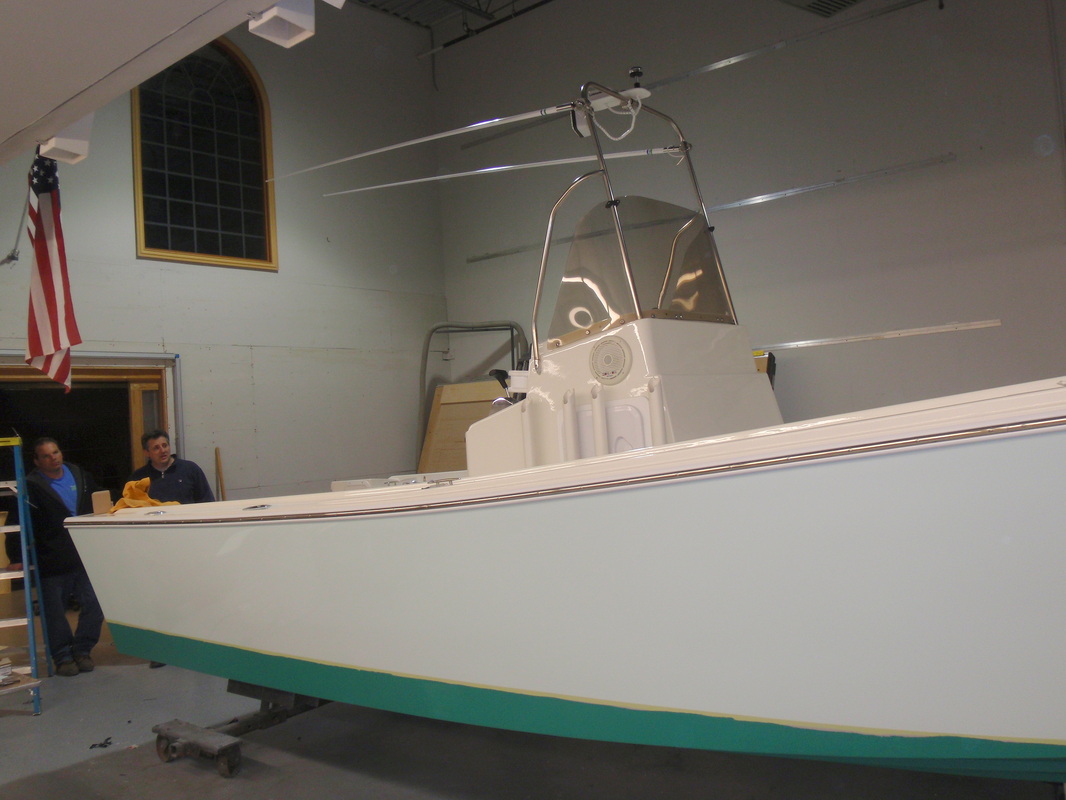
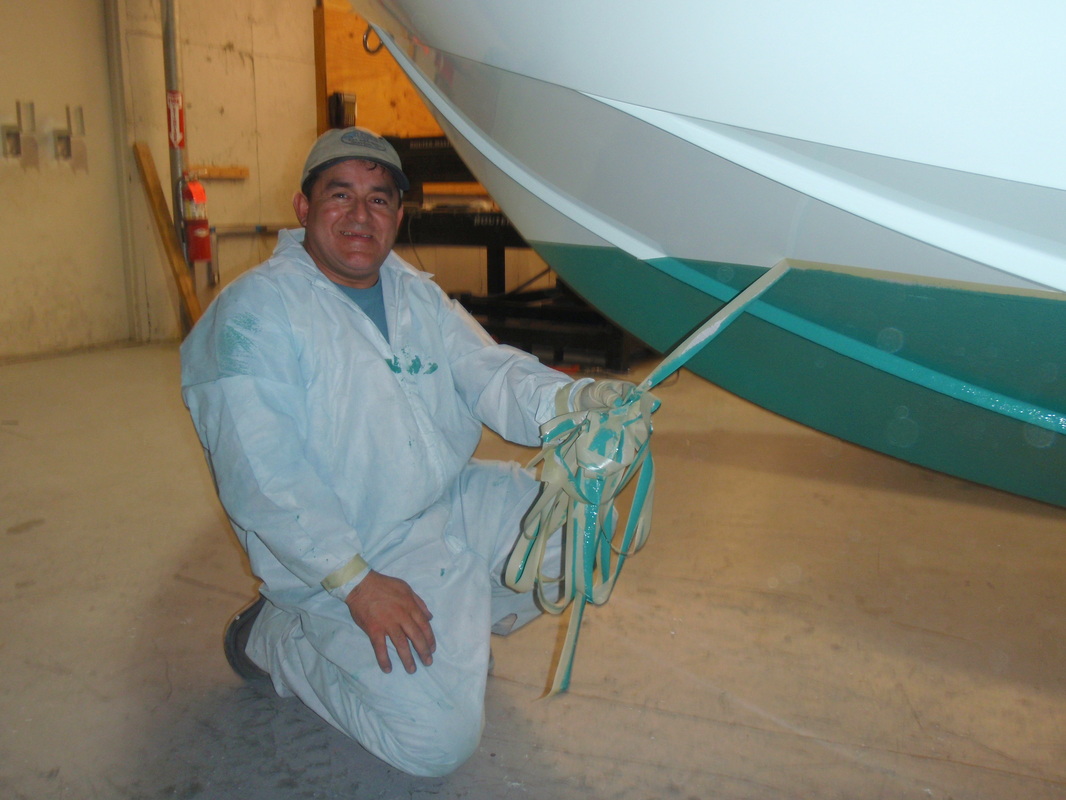
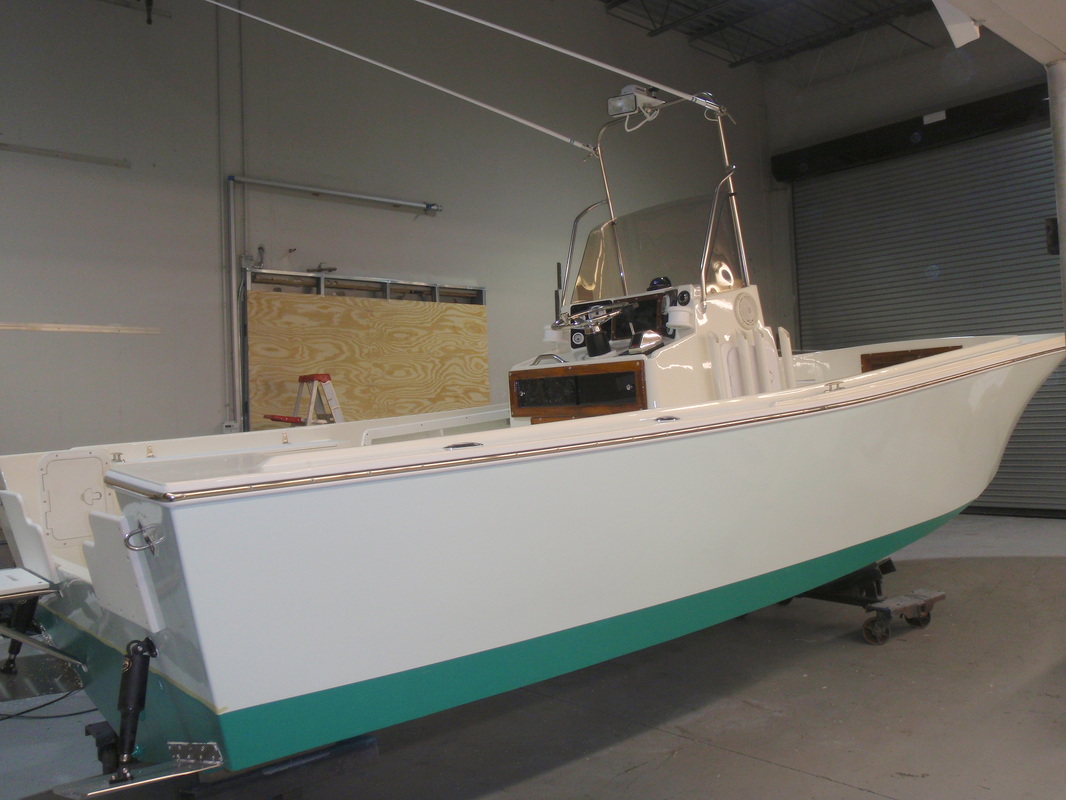
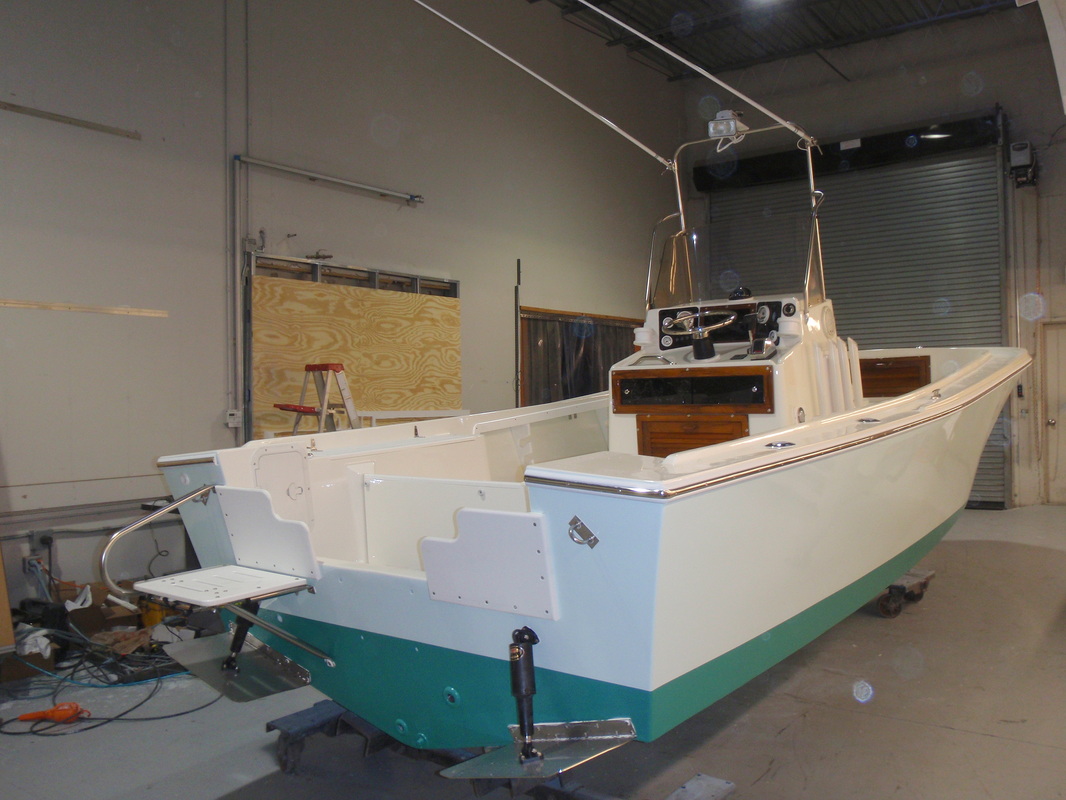
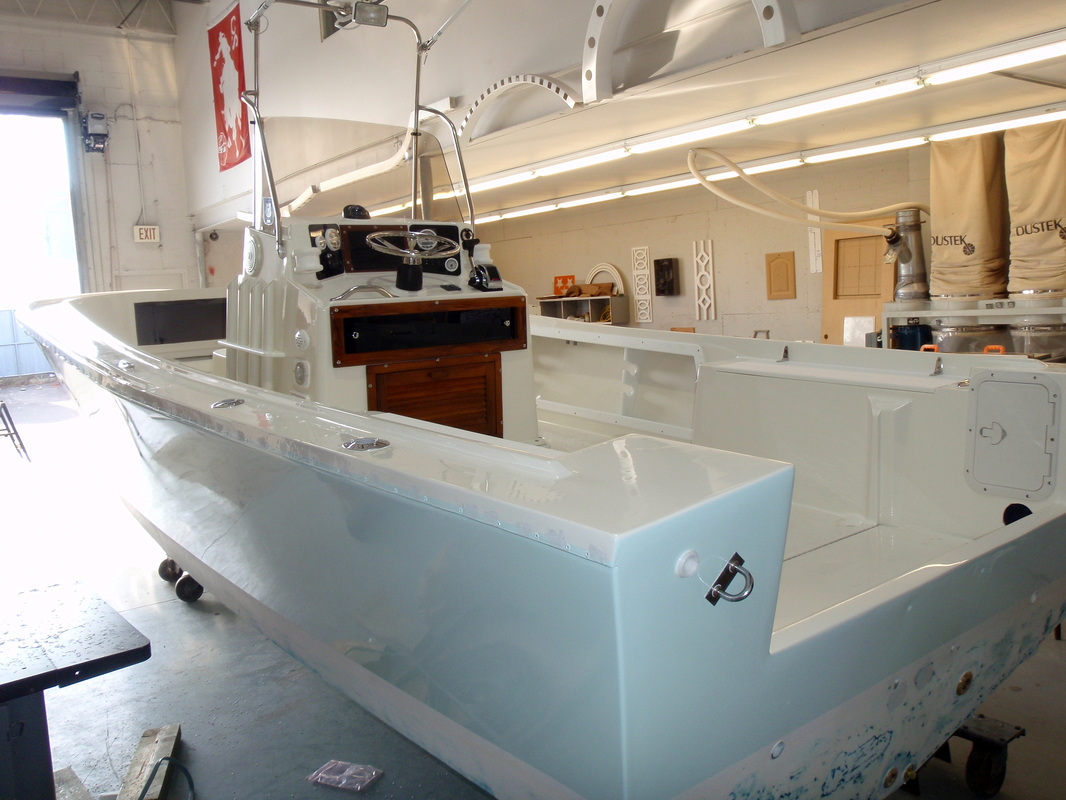
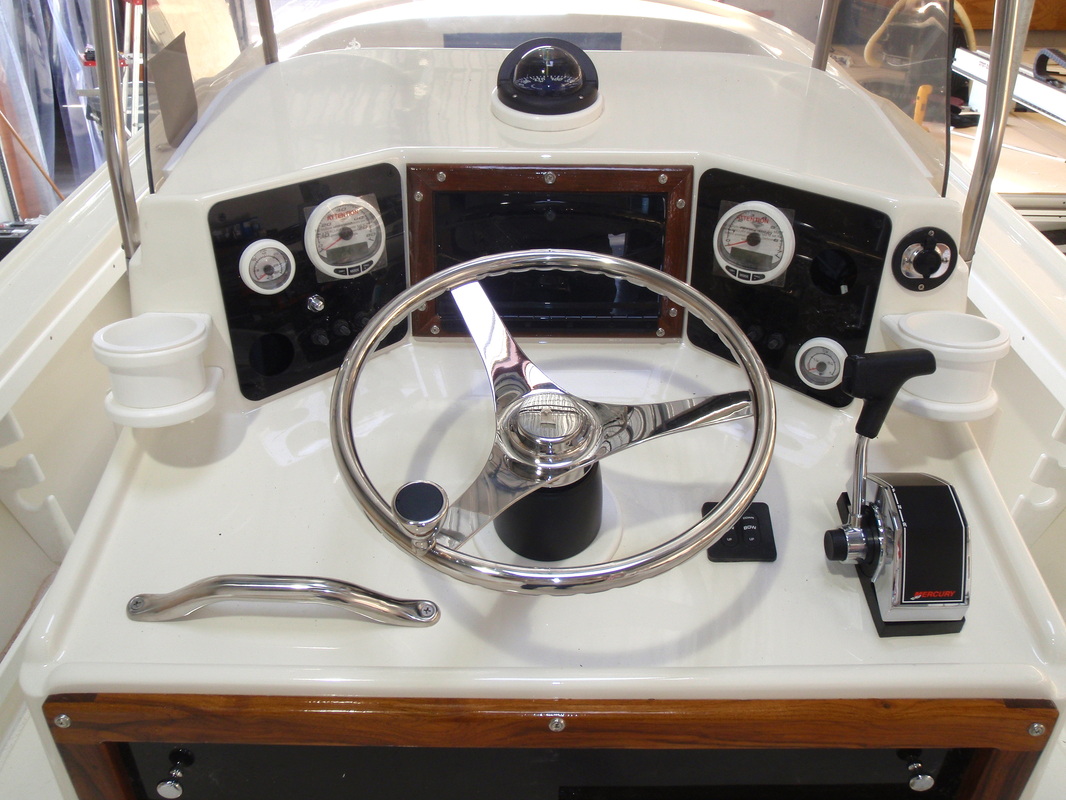
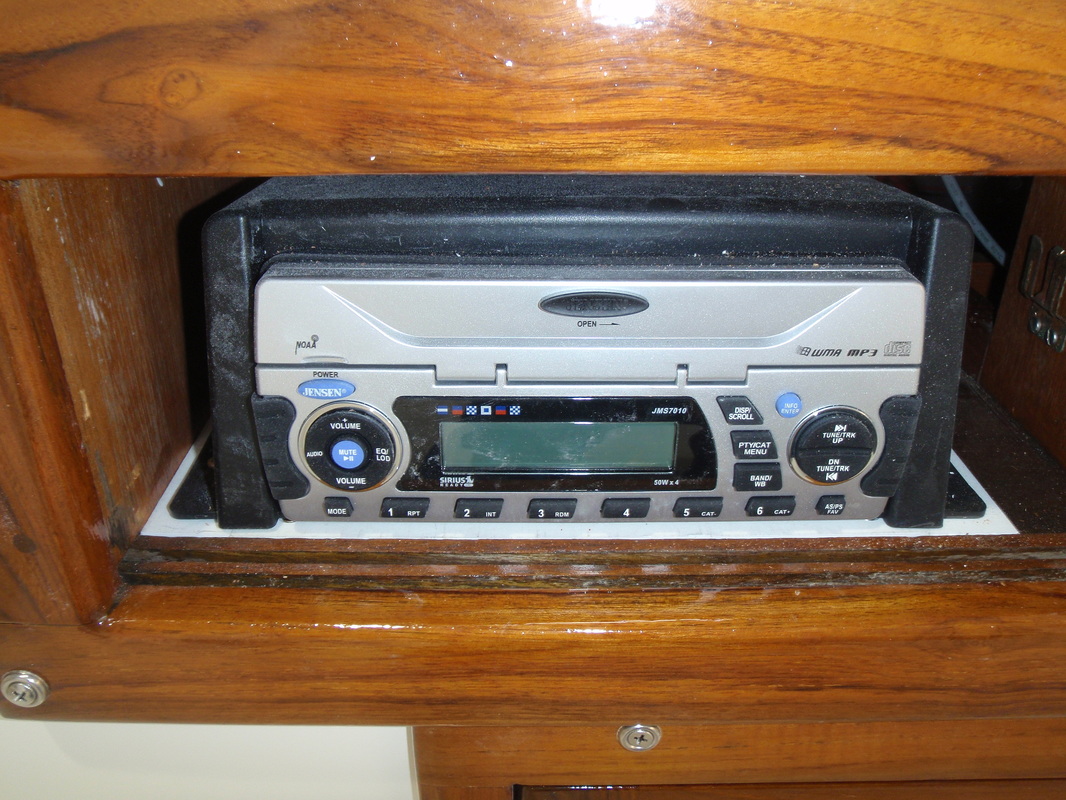
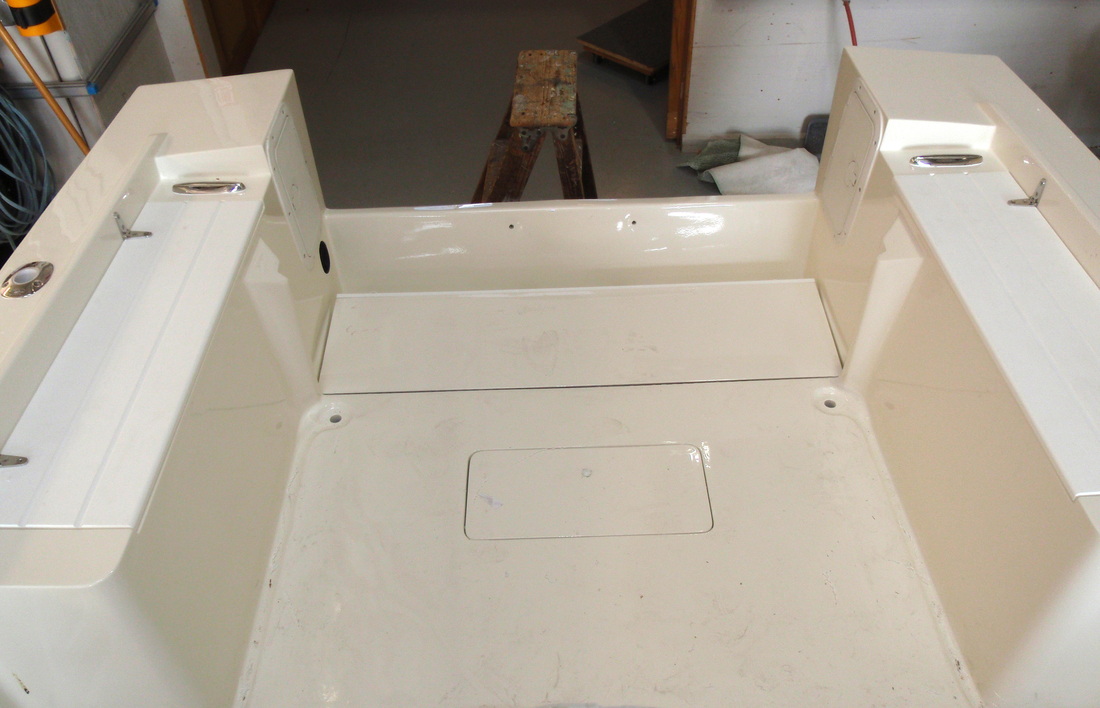
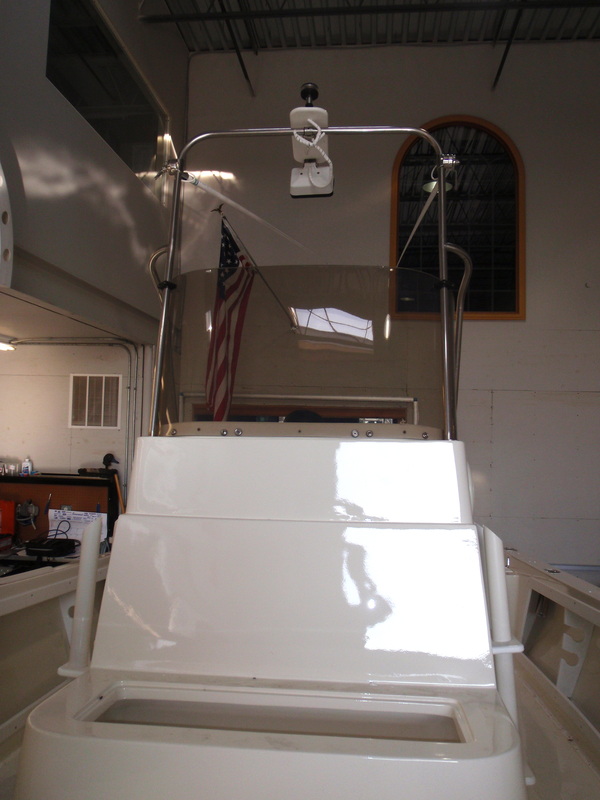
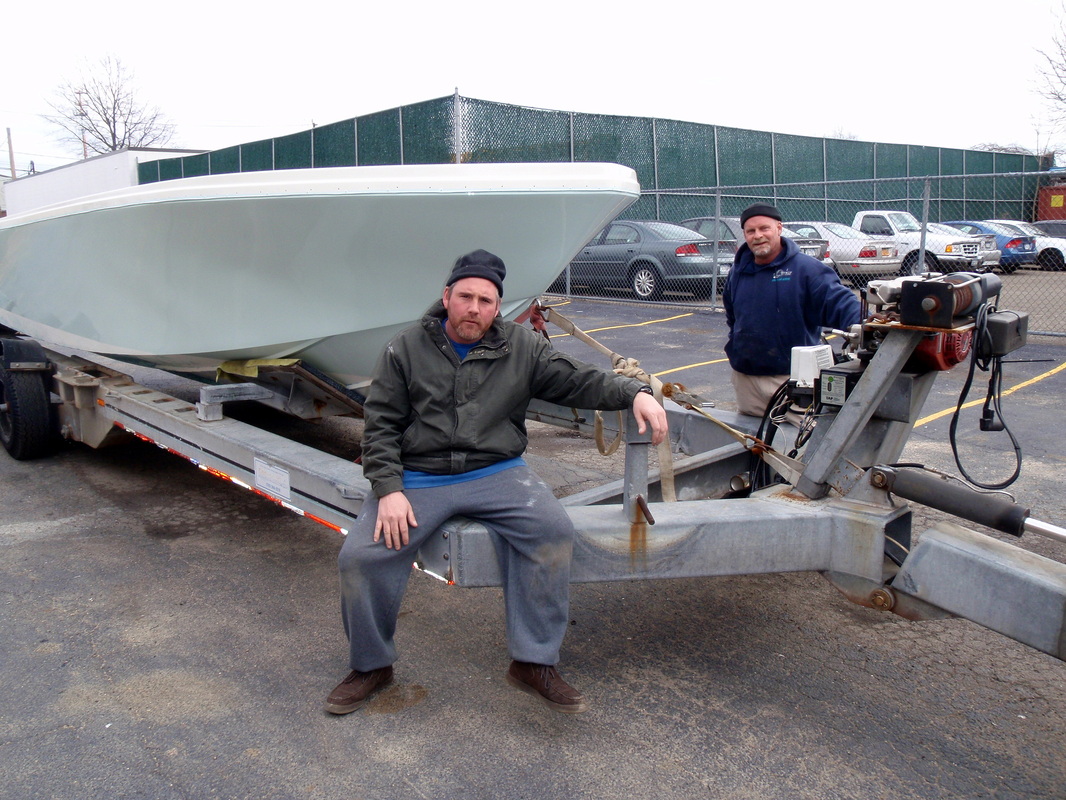
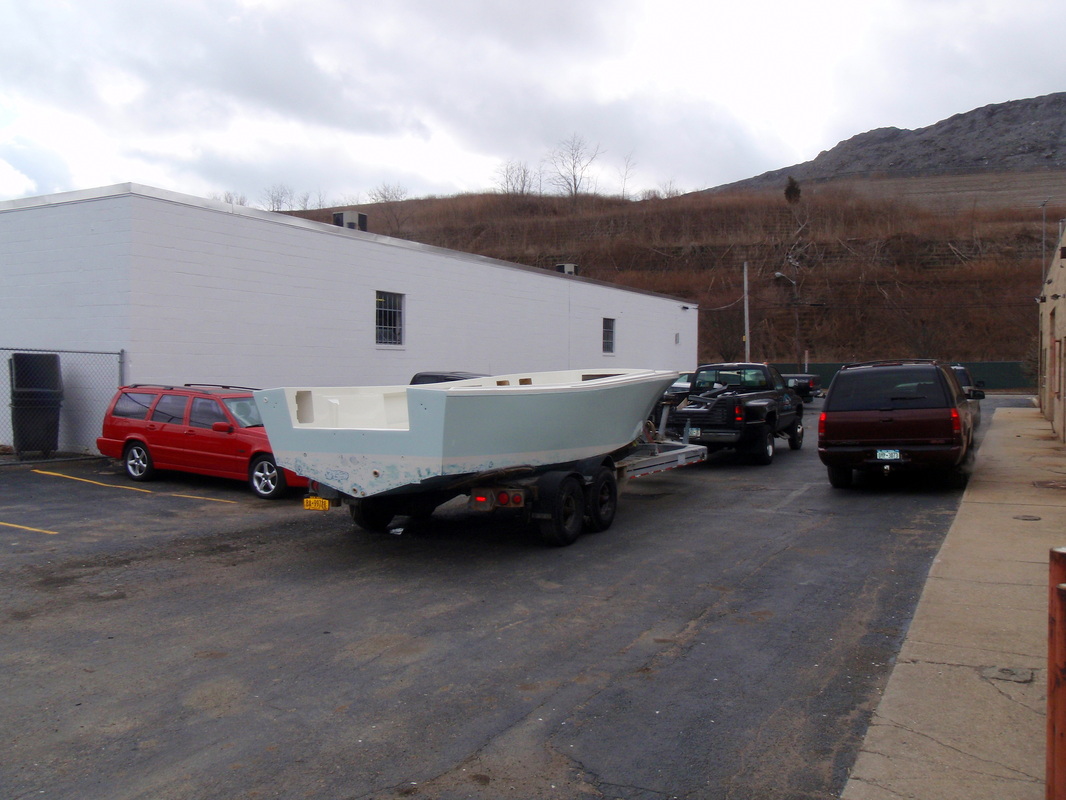
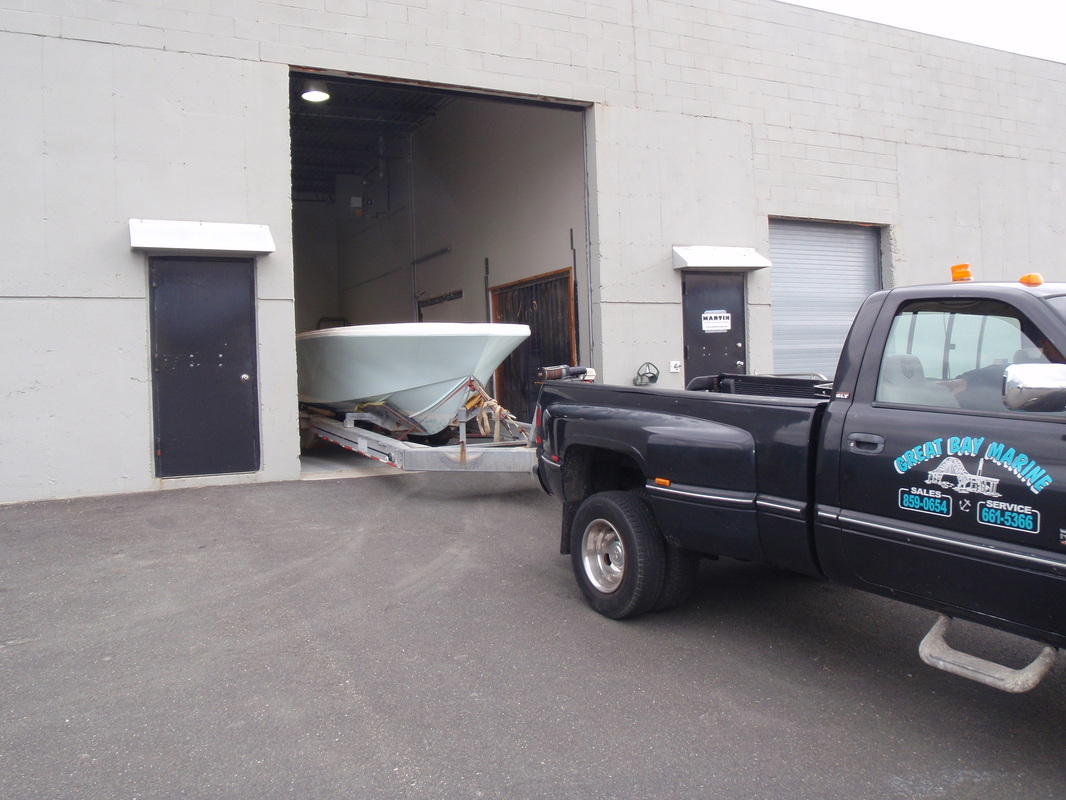
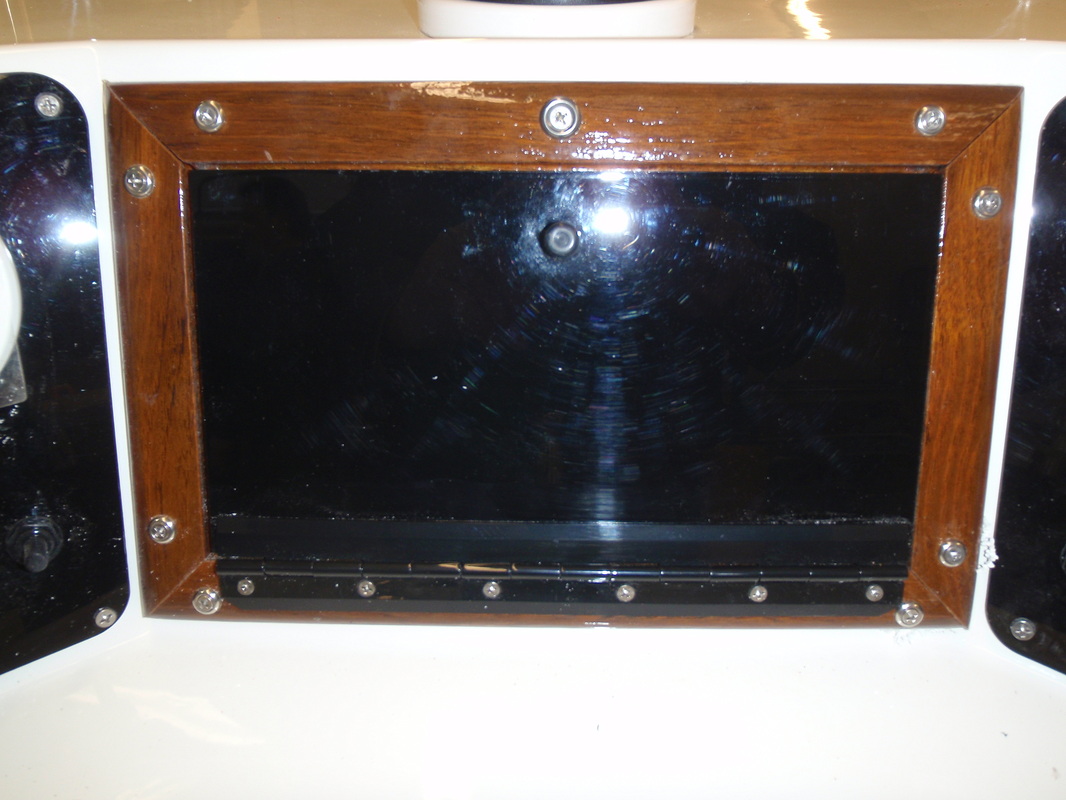
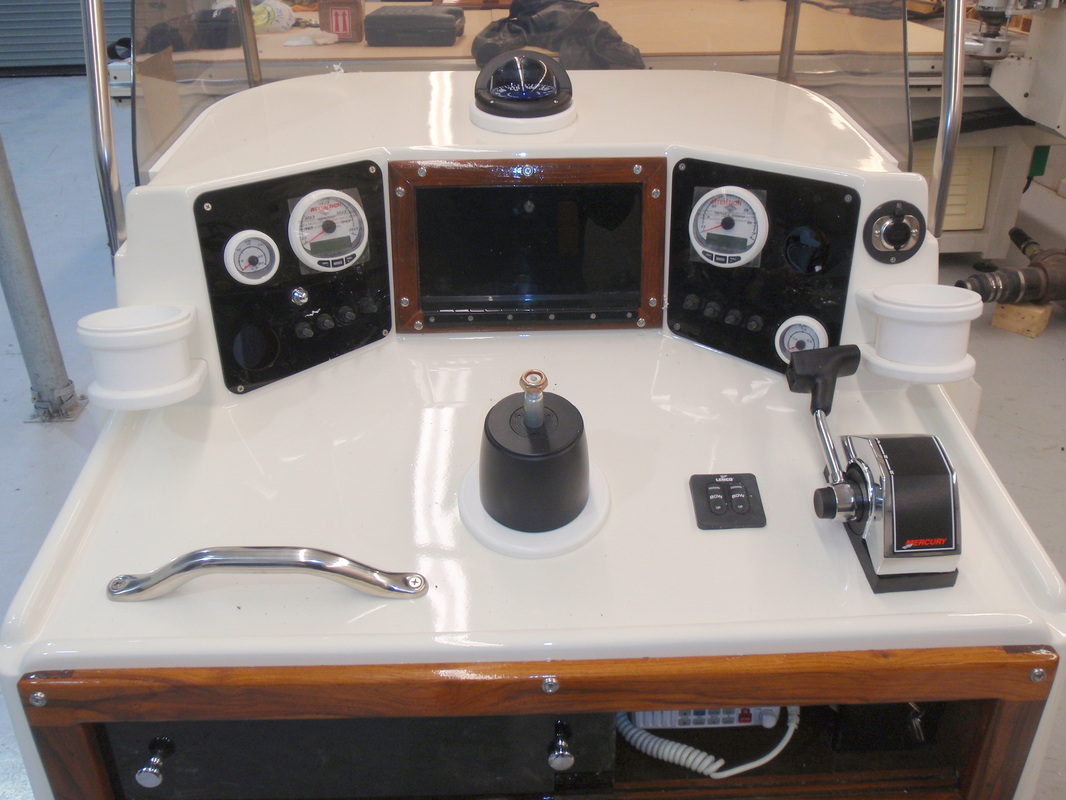
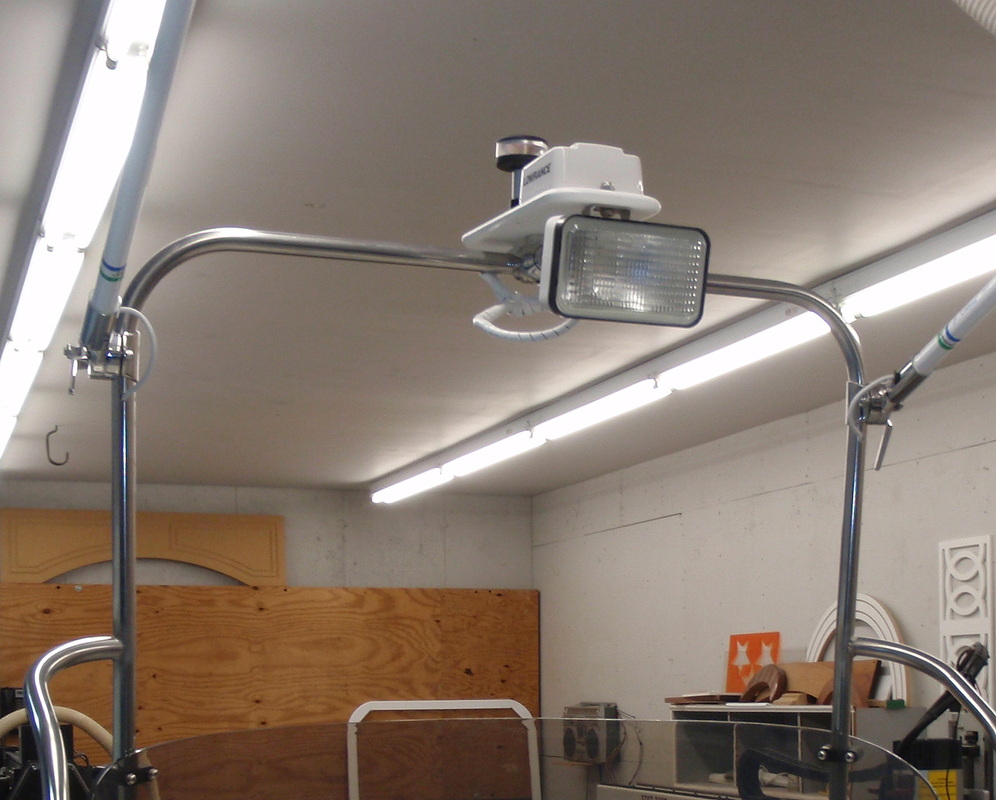
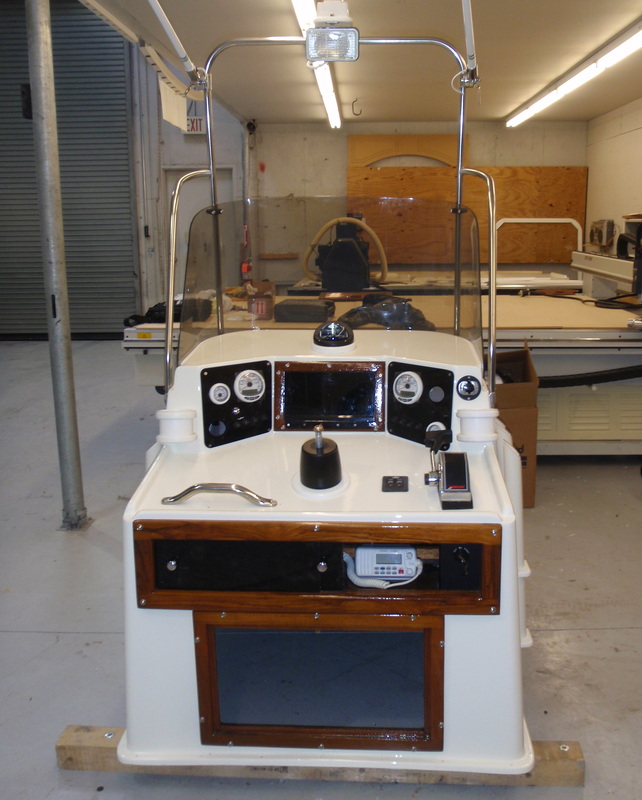
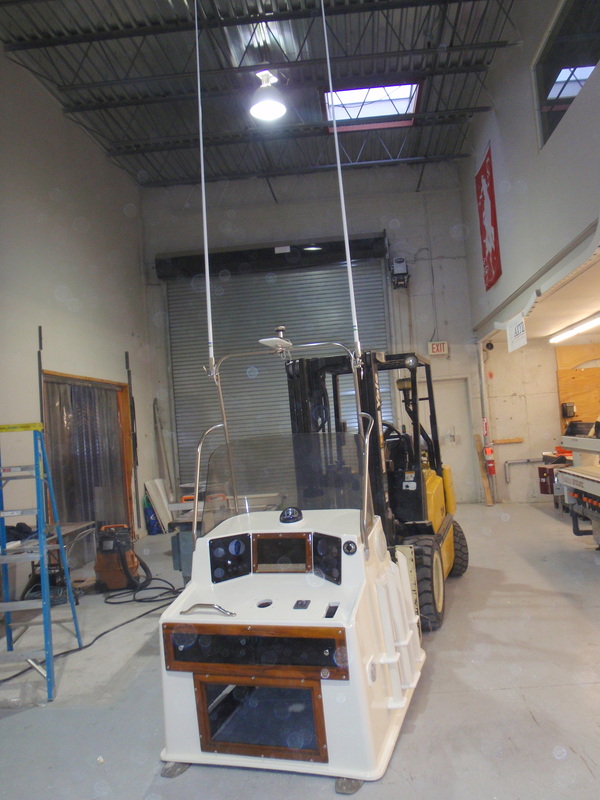
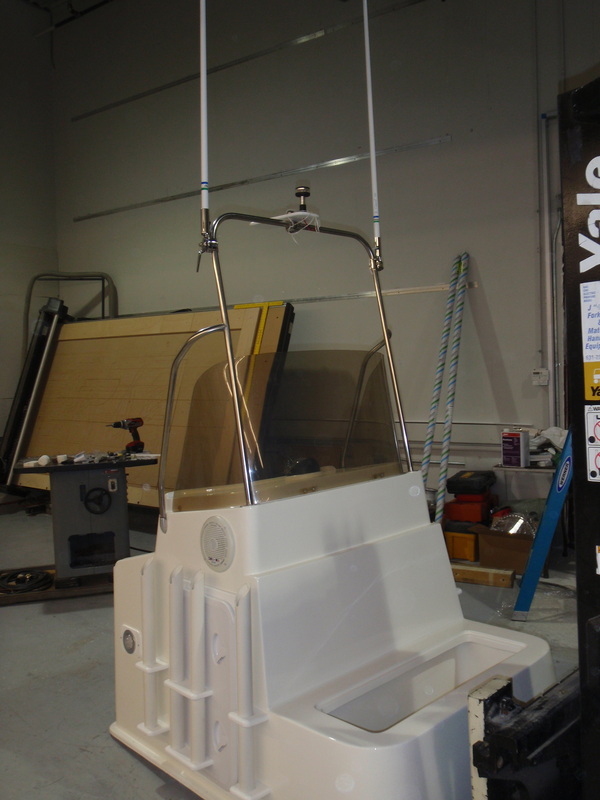
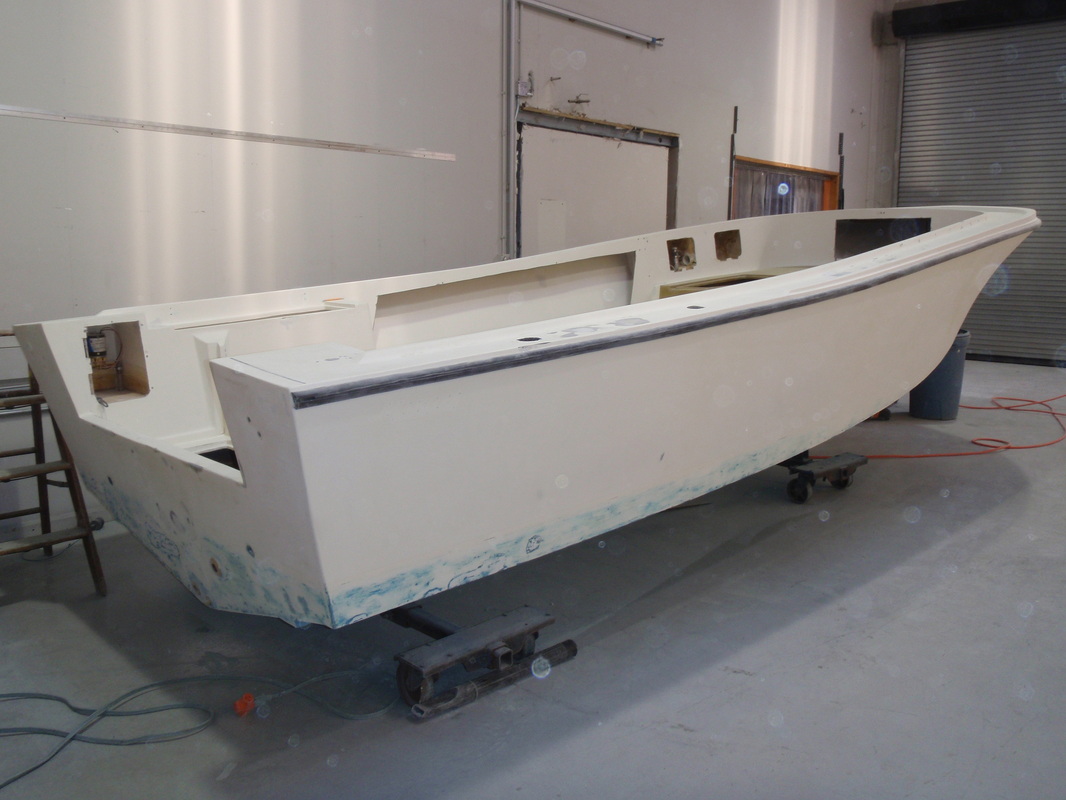
The Mako restoration is finished. These are shots of the finished product. Three months of work produced the most beautiful and functional Classic Mako that I have ever seen. It is a work of art and not just a boat. 

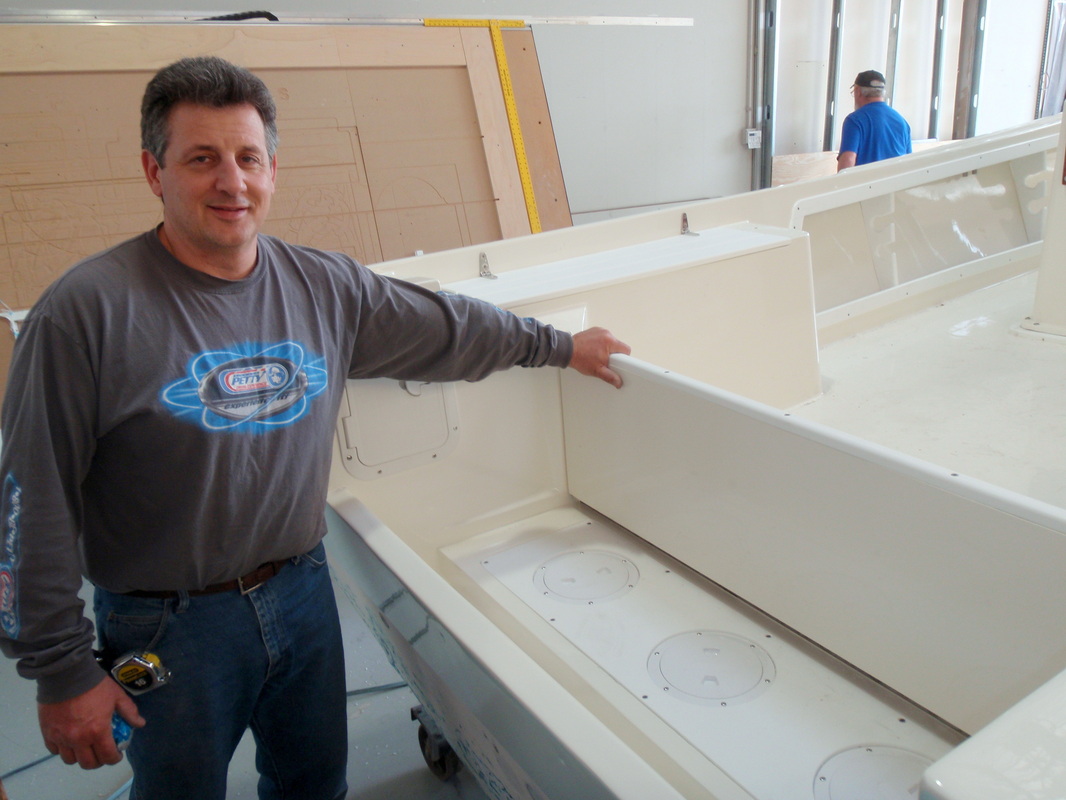
Captain Al Lorenzetti
10 Comments

Getting Cose to the finish of the 23 mako

3/19/2011

1 Comment

 
Picture
Getting near the end of the project. Snaking all the control cables etc. 

Picture
Frankie and George working on the rub rail installation. We used a rigid white rail with stainless insert. It looks real good.

Picture
Frankie using the heat gun to bend the plastic rail around the transom corner.

Picture
Rub rail on and it meets our satisfaction. Bottom paint now with one gray base indicator coat and one top coat.

Picture
Carlos finished the last coat of Interlux Micron Extra and removed the masking tape to reveal the finished product.

Picture
The end product of three months of hard work but worth every minute.

Picture
Stern view. Trim tabs are now on. We used big tabs like we did with my boat. They are 12 by 18 Lenco tabs and they make a huge difference in the ride of the boat. They keep the stern up, make it run more efficiently and give instant control of attitude.

Picture
Another look at the finished product. It will now go to Burnett Marine Service in Bayshore, NY for 225 OptiMax installation.

1 Comment

Rigging the restored 23 Mako

3/18/2011

1 Comment

 
Picture
We did a lot today. It began with lifting the console and getting it situated in the boat. We then screwed it down to the decks. We first screwed down the starboard base into the deck with #14 flat head screws. The console was then screwed through the starboard and into the deck. It is solid like a rock.

Picture
A good look at the boat with the console in place. We still have a lot of work to do to finish the project. Complete the wiring job, run all lines through rigging conduit tubes back to engine area, install trim tabs, paint the bottom, install the rest of the equipment and non-skid the topside.

Picture
George admiring our work. A new starboard bilge hatch with three inspection hatches for easy access to pump and ball valve handles. The drop down transom door newly painted with starboard trim on top edge.

Picture
Fish/ice box covers out of 3/4 starboard with new stainless hinges.

Picture
Console dash layout. Custom made drink holders, Screws on black hinge and black dash panels were painted black for cleaner look. Accessory power outlet on right side of dash panel. Trim tab controls close to throttle. Speed knob steering wheel and Ritchie compass.

Picture
Jensen Marine Sirius ready 200 watt radio,CD player also in box below helm.

Picture
ICOM VHF radio and key switch location in the box below the helm.

Picture
Transom view from the console. 

Picture
The console front view. Really trim and neat looking. No more cross bar directly in sight line.

1 Comment

The 23 Mako is back and ready to rig

3/15/2011

0 Comments

 
Picture
Today was a big day for the project. We worked on the console some more this morning and have it just about done. At 3 pm Kurt and Steve from Great Bay Marine picked up the boat at Perfect Ten Auto after it received a beautiful paint job with Awl Grip Aqua Mist on the hull and Oyster White on the topside. What a beautiful job Matt did with this one!

Picture
Steve and Kurt working the hydraulic trailer with boat hitched up and ready to go to the shop at FMT.

Picture
Heading out for the road and looking good.

Picture
Backing the boat in at the shop. 

Picture
Setting the boat on the dollies.

Picture
I did some of the last finishing touches under the console which was tough. I felt like a gopher in a hole. I finished running wires for the Sirius antenna connection and used the Dremel tool to cut off all the long screws protruding into the console area.

Picture
We ordered black piano hinge and got rid of the stainless steel hinge which just stuck out like a sore thumb. This really look good with the black Lexan. We are having the screw heads painted black and will install them when done. The fine details are what really make a "Classic Extreme Makeover" really look real good. It's all in the detail.

Picture
We still have a couple of Mercury Smart Craft gauges on backorder to fill out the dash but the console is almost complete and is the heart of the boat.

Picture
We devised a combination light/antenna mount for the overhead rail. It incorporated an all around white light, Sirius antenna and spreader light. It is nice and neat. Notice all wires were snaked through the tubing. Also notice a big plus, no cross bar at eye level. A beautiful unobstructed view from the helm.

Picture
The console ready to go.

Picture
What a paint job. Wait till you see the final product with all the nice stainless hardware and console in place and a 225 Mercury OptiMax engine sitting on the transom. This is one hot boat!

0 Comments

Rigging the Console

3/11/2011

0 Comments

 
Picture
3/11 Today we installed the handrail on the console and antennas. One antenna for the VHF and one for the AM/FM radio.

Picture
We will be tying in the handrail to the windshield for better vertical stability. We are going to polish the windshield to remove some scratches and then get busy with mounting the steering helm and binnacle control for the Mercury OptiMax that will be installed by Gene at Burnett Marine Service.

0 Comments

Work on console is going great. Tacking pieces of console base, routing starboard pieces and welding starboard.

3/1/2011

0 Comments

 
0 Comments

Cutting Starboard for the new Mako project. Onion skin technique.

2/17/2011

0 Comments

 
0 Comments

CNC routing of Starboard parts for Tony's boat

2/16/2011

0 Comments

 
Picture
A full 4X8 sheet of 3/4 Starboard ready to go on the router.

Picture
Today was clean up day in the shop. After four days of sanding the shop was a dust bowl. Pete Johnston came by with his leaf blower and we set him up on scaffolding and he cleaned the joint up. George wet mopped the floor and we set up for Starboard cutting.

0 Comments

Off to the painter

2/14/2011

0 Comments

 
Picture
Tony's Mako took the trip to the paint show today. In about a week it should be looking good and ready for the finish work

0 Comments

Prepping the hull

2/10/2011

0 Comments

 
Picture
Today we finished sanding the entire boat. It is now ready to go to the paint shop where Matt at Perfect Ten Auto will transform it into a new looking boat. 

All holes, dings and scratches have been filled and the entire boat sanded to a 120 grit finish.

It will be done in Awl Grip paint with a pale green Aqua Mist hull and Oyster White topside.


Picture
The console, transom door and front storage hatches went to the paint shop today. While the boat is being painted I will get to work on setting up the console for wiring and non-skid finishing the hatches and transom door.

0 Comments
<<Previous

    23 Mako Dec 2010

    This boat was a complete reconstruction. New fuel tank, all fiberglass repaired, new wiring, all new hardware and plumbing, starboard replacement of almost all original teak, new console new rub rail, grab rail, trim tabs, live well system, leaning post, complete bottom sanding and painting with Micron Extra and a complete Awl Grip paint both topside and hull. New Lowrance electronics and a new Mercury OptiMax engine with new gauges and harnesses were added to finish the job.

    Archives

    March 2011
    February 2011
    January 2011
    December 2010

    Categories

    All

    RSS Feed